
Bob advancing his Royal Engineers under the eye of the British High Command (Charlie). AJ, host and game master, shares the German's sense of concern over developments.
In this post, dear readers, I will render a supplemental battle report on a recent game held at club member and friend AJ's place. This was a hypothetical WWII game set in the lead up to the Battle of Walcheren, 1944, pitting the British against the Germans. I say that this is a "supplemental" battle report because AJ has an excellent report on his blog that outlines the scenario, forces, victory conditions, and flow of the game. Thus, I refer you there at this point for this information rather than repeating it all here. I'll wait...


...welcome back. Let's begin. We drew lots for sides. (Above Left) The (mostly) hirsute British Players: left to right, Bob, Byron, Jeff, and Charlie. (Above Right) My German Komrades, Ralph (at the top of the picture) who would hold down the German right, and Rob, who would hold down the German left. Upon drawing out a German marker, I cut loose with some nonsense "GI German"--as a reward for which I was elected (drafted) as the German commander by Ralph and Rob (note to self: don't do that!). Thus, I took up the HQ elements and the center of the line. And was responsible for our brilliant plan. As usual, you may clix pix for BIG PIX in this report.

There were three German mixed platoons, plus some HQ assetts (See AJ's report for details). We had three crossing points to guard, and other than knowing that any British armor or vehicles would have to come in via the road that ran off the table our left, we did not know where the British reinforcements would be arriving. Thus, we used a balanced deployment to cover the area, with each of the three German platoons/players covering one of the crossings: Rob on our left, Ralph on the right, and I in the center. As far as special elements, I put one emplacement right at the end of the bridge in the center, tying it in with the stone walls and creating a strongpoint and roadblock. Two of our other emplacements went to cover our Flak gun and the ford on our left, figuring that we could see a quick push supported by armor on this flank and would need the cover if so. Ralph (on the right) positioned a machine gun in the pillbox and his infantry to the right of that. I spotted the AT gun and the infantry gun with long diagonal fields of fire, with our mortar ensconced behind the town. My Luftwaffe infantry squad I put in the roadblock and my Ostruppen squad was under cover behind walls on the other side of the town. Our HQ platoon element, which was another Luftwaffe infantry squad, was in reserve in the town.
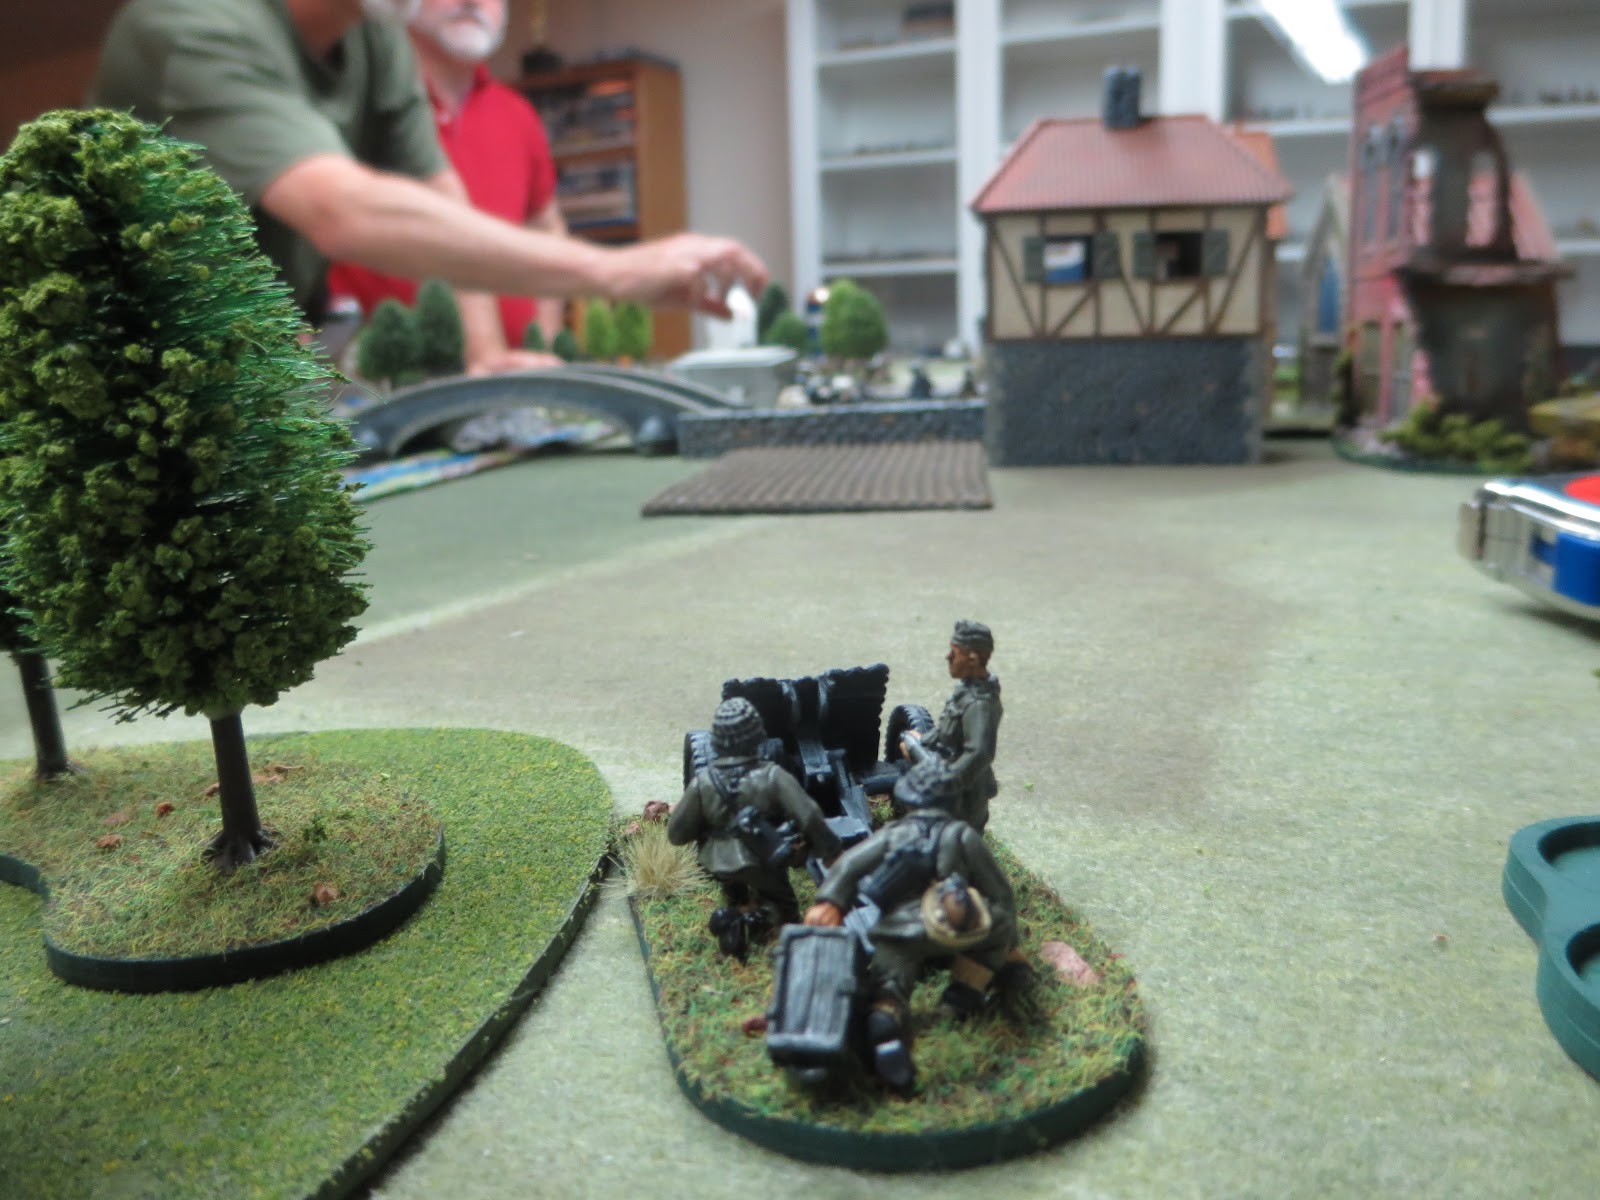
The view from my German infantry gun (which was actually attached to my platoon, and not one of the HQ elements). These jolly lads spent most of the game lobbing direct and indirect HE at the British Commandos and Royal Engineers who were pressing in from the British left. Not much damage, but the effect was to chase them out of positions--and to help make Ralph (who was hard pressed) feel like someone cared...


The British Armor as seen from the road block in the town. The British Armor wound up standing off and firing with results not unlike those achieved by my crew served weapons: let's just say that there wasn't much chance for sweeping armored warfare in this situation.


Thanks to our convivial host and game master, AJ!

Excelsior!

Great fun. How did you find the iron cross rules?
ReplyDeleteHi Stew. WWII is not really my area, so can't give much of an evaluation other than to say that the folks who put together our bit WWII Game Day game used it and everyone picked it up fairly quickly. My limited perspective on it is that it is a more nuanced version of Bolt Action--but less involved than Chain of Command: a happy medium.
ReplyDeleteSorry for missing this earlier, Ed. Fun looking game with a lot of excellent terrain. Haven't played these rules (or CoC), but hoping to get back into Bolt Action.
ReplyDeleteThanks for dropping by, Dean. Yes, AJ puts on a good game all around: fun, well administered, and visually appealing.
DeleteGreat looking game and sounds like it was played in a nice good natured way, sounds like a great evening!
ReplyDeleteBest Iain
Indeed—AJ puts on a good game. It, along with the gathering of regular gamesters, was just the tonic to close out the week on a Friday eve. We’re very fortunate to have such an active group.
Delete