Tuesday, October 26, 2021

PIKEMAN'S LAMENT: SCOTS V CONTINENTALS

The view looking over the shoulder of the Meanderer's alter ego on the table towards Mark D's Scots.
 
Although blogging activity has been slowed recently due to a variety of causes, gaming activity has been going on (I am happy to report).  In this post, we return to the gaming table with a game report of another tilt with Pikeman's Lament. My friend Mark D, of Mark D's Gaming Site Fame, wanted to get his newly minted Scottish force on the table as well as having more practice with PL.  We reprised the scenario from the last game for this one, only this time around I would be taking a side as opposed to facilitating the game (as usual, you may clix pix for BIG PIX in this report)...
The "War Desert" layout, with two forces coming from opposite sides and encountering each other while making for a bridge crossing. For this game, we followed the "GA PA" scenario in the book, which is basically a "tournament" style game (whack away at each other until there are only five units left on the table, total, and then tot up the points to see who came out ahead). 
Mark D's Scots
My Continentals
 
I came up with the original force mix to familiarize AJ and Mark D with the rules, having one each of the most common unit types on each side (and representing the most common range of special abilities).  I realized that at 22 points, this original force mix was, by coincidence, within spitting distance of  the "standard" 24 point force.  I wound up being the "attacker" and Mark the Defender (in this scenario, this only defines the order that units are set on the table and the order of movement: attacker first).  For this game, we added a special character to each side (1 point), bringing this game up to 23 points per side.  The special character gives the unit he is with a +1 to morale.  I put mine with my dragoons given that their morale was the lowest and intending that they would be operating outside of the range of my commander (commanders give a +1 to the morale of units within 12"). Mark D's agitator (his priest) beefed up his already stout pikes: a tough nut!  Given that Mark brought Scots to the table, I figured that I would just call my side "continentals" in order to add color: and we would assume that this fight was happening somewhere in Germany at some time in that wide open period known as the Thirty Years War (in other words, units in any force could have been recruited from just about any nationality...and you'll see more on this if you read on...).
 
Canny Scot Commander Mark D surveys the field as his lads get themselves fired up for battle. It would be appropriate to invoke Robbie Burns to provide the preamble to this game: "the best laid schemes o' mice an' men aft gang a-gley"
The Scottish Shot Advance Over the Hill and Far Away... (sorry, couldn't help m'self)
On the right, I push my French Gallopers, and English Commanded Shot and Dragoons forward, and Mark responds by bringing his Dragoons around the edge.
On the left, my German Pikers and Trotters move ahead, matched by Mark's Pikers, Commanded Shot, and his Gallopers and Trotters. 

Mark's Dragoons win the race and take up a strong position in the Orchard out on my right (curses!).
An extended and uneven shooting match will ensue between my commanded shot and dragoons in the open and his fellows under cover! But more on this later. Meanwhile...
...out on my left, the German Pikers close ranks and continue to marsch!
In a "telling maneuver" I swing my Aggressive French Gallopers from their position on the right towards the center, and Mark counters with his Trotters: things are about to get interesting! (In the background, the Scottish Shot has taken up a strong position in the ruins).
Unfortunately, French elan is no match for Scottish stubborness this day, and--in full view of the (not amused) German Trotters--the survivors of the French Gallopers bounce back to where they started...
...and the Scottish Musketeers in the ruins that I mentioned a bit earlier now have something to do (much to the French Gallopers' regret!).
...returning to the right, the English Dragoons take desperate action and charge into melee with the Scottish Dragoons, beating the odds and taking the position, very unlike their comrades the (now late) French Gallopers...
...meanwhile, the (now) single figure Scottish Trotter "unit" that saw off the French Gallopers will live a charmed existence and gum up the center of the table for the next three or four turns! The German Pikers advance, baiting the Scottish Aggressive Gallopers into charging (who no doubt were feeling all the more aggressive having seen their Trotters see off the French Gallopers)...
...the clash: Close Order Pike Defending vs Attacking Gallopers: Strength on Strength...
...both take their lumps, and both pass morale, but the advantage goes to Close Order Pikers in this case, and the Scottish Gallopers bounce back. Now at half strength, the Gallopers will nevertheless charge again in their next turn.  Meanwhile, the German Trotters decide that they've had enough of their pesky Scottish Counterparts...
..the
Scottish Gallopers tangle with the German Pikers yet again and the Scottish Trotters are no more ...
...the Scottish Gallopers wipe themselves out, but they take the German Pikers with them (who had been so reduced that they were rolling at a minus 6 and came out with less than zero for morale, routing). In the right foreground, the half strength English Commanded Shot are about to recover from waver and enter the fray and get unceremoniously shot down in the next turn by the Scottish Shot.
With the demise of all of the opposing units that had been in close proximity to one another,  a momentary pause descends on the battlefield. On the Continental side, everything now falls on the unflappable German Trotters, who gaze across the field at the opposition...
...with the support of some distracting fire from the shot, and some key activation failures on the part of the Scottish Musketeers, the German Trotters manage to advance across the table unscathed and deliver several shot attacks against the Scottish Pikers (there were several Caracole activations that did not result in follow up charges, but did allow the Trotters to deliver fire, which over time chipped away at the Pike)...
...and then it happened: despite the Agitator's bonus and the Commander's help, Mark rolled snake eyes for morale and the Scottish Pikers routed away. This brought the game to a close.  With the Scottish having lost a Pike, a Trotter, and a Galloper, and the Continentals a Pike, a Galloper, and a Commanded Shot, the score wound up being 12 points for the Continentals and 10 for the Scots--a slim edge to the Continentals that matched the feel of the game!

Regardless of points, it was a fine day out with toy soldiers on a sunshine-striped table. Thanks to Mark for the good company and for bringing out his Scots (who will be back to fight another day, no doubt!). 

Excelsior! 


Tuesday, October 12, 2021

RUSSIAN COMMAND: RUSSO TURKISH WAR ERA


Detail view of General Skobelev (Outpost Wargame Service Figure)
 
In this post, dear reader, we return to the Russian Army of the Russo Turkish War Era project. Specficially, I am happy to post on the completion of the last (planned) stage of this major project: the command figures.  As usual, only two of these figures are actually of the era and represent what they were sculpted to be (the above-pictured General Skobelev is actually a "General Skobolev" figure from the Outpost Wargame Service Russo Turkish line--although it is new and hasn't yet hit their web-store).  More on that anon.  In the meantime, here is my accumulation of command figs for the Russians. As usual, you may clix pix for BIG PIX. 
 
Detail from Surrender of Fortress of Nikopol (1883, Canvas) by Nikolay Dmietriev-Orenburgsky
 
For the general gestalt of my high command figures, I used the indispensible Mollo (above)  and other images, such as the detail of the command group pictured in the Dmietriev Canvas (above). 
Russian Army Command Stand: figures are from the Great War Miniatures Crimean War Range (Baron Osten Sacken and Staff). This was a stand that I had originally done up to represent Prussian High Command, but which became "spare" after replacing it with an "upgrade" to a mounted Prussian High Command stand. I was originally thinking that I would try and have my Russian High Command stand also be of two  mounted figures, but in the end I decided that I liked this vignette and these figures too much not to use them--so I repainted them as Russians...
...I like to have the option to add a flag to my army command stands.  It can serve as a status marker in some games or just as a nice bit of eye candy--equally, the stand can be played without flag as well (depending on the game, it can sometimes get in the way).  To keep these  options open, I put a 1/2" x 1/2" metal square on the base (I fabricate these out of  1" x 1/2" metal wargame bases snipped in two) and I create a flag pole with a small rare earth magnet on its base (secured with J B Qwik Weld).
The Russian Army changed its flag patterns after the Crimean War (to the pattern 1857 flag). The above flag (a pattern 1857) I chose from among those I downloaded (and printed out) from the 1859 plates of the Russian Army found in the New York Public Library Vikhuisen Collection. 
 

Field Commanders: these are repurposed Prussian Napoleonic command figures:
Perry (left) and Calpe (right).
These figures were in my "spares" pile--partially painted as Prussians.  The signature Prussian Feldmutz cap, when painted white replicates the Russian Furashka--and the remaining uniform details are essentially the same as later century RTW Russian commanders.  One thing I did have to deal with was what to do about the sash on these figures...
...the answer was provided by this detail of a Russian Officer of the RTW wearing a white sash (from the
Nikolay Dmietriev-Orenburgsky painting of The Last Battle of Plevna.)
 
 
I did two different renditions of the General Skobolev Figure by Outpost Wargame Services. As I did with my Austrian command figures, I mounted these on a set of Front Rank horses that I had among my spares (this combination of the larger mounts works very nicely with the  skobelev figures, which are on the larger side themselves, and makes them consistent with the other mounted figures in the command set).
 
I patterned one on the image of Gen Skobelev in the regulation (if still embellished) green general's uniform as found on the Russian Commemorative Postage Stamp* (above left), which is based on the painting by
Nikolay Dmietriev-Orenburgsky.  The other version is drawn from the depiction of Gen Skobelev found in the Osprey RTW book (above right), which is based on accounts that describe him in an all white uniform riding a white horse into action (if you haven't already gleaned, Skobelev was a dashing national hero and internationally famous military figure of the era).
*Russian Post, Publishing and Trade Centre "Marka". Souvenir Sheet by A. Povarikhin. Scanned by Dmitry Ivanov. Public Domain via Wikimedia Commons. 
 
I figured that Gen Skobelev was a trend setter among Russian commanders, and so there would be other commanders in the regulation green uniform who would cut a very similar figure:  thus, my green uniformed Skobelev could serve side by side, if needed, with the distinctive white-coated Skobelev. I have to add that my personal preference is for the green coated version. 
 
At other stages of the project I produced these two command figures: when doing cavalry, I generally pull a musician or two to use as ersatz cavalry command figures (in the case of the Russians, this uhlan musician).  And I kicked off this entire project by doing the conversion to create the Cossack Command figure.   Appropriate that he should be featured as the last figure study in this last stage of the project.
 
The Russian Command Complete and on Parade. More than I would need for my Chocolate Box Wars concept, but enough so that I can use this collection for other rule sets and contexts...and having a few more of them is just nice to look at (after all, this hobby is not just about function: eye candy is part of it, too). 
 
In an upcoming post, I'll do a Pass in Review of the now complete Russian Army. Until then...
 
Excelsior!


Wednesday, October 6, 2021

EX LIBRIS: ED M'S WARGAMING LIBRARY


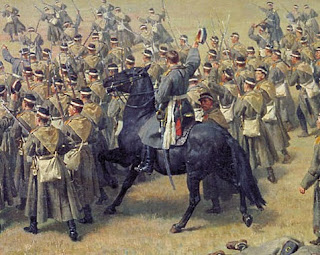
Perhaps not a "wargame" book, but it represents the type of antiquarian book that I retained as a "keeper" in my "great sort"--and it makes for an eye-catching opener for a post concerning books.
 
Awhile ago, there was a trend among certain bloggists to post about their wargame libraries. Given my bibliophile proclivities, I hadn't intended to go through the rather substantial production that such a post about my book collection would entail.  However, having just gone through a major cull as part of a broader reorganization, I thought I would take this opportunity to do a post on the subject.  
The state of the man cave/war room during the "great sort"--a two week effort of going through the detritus that had gathered here after a year+ of working from home during COVID, things that I dragged from the office and dumped here after retiring, and the rather haphazard hobby acquisitions of the last two years.  I'll do another post on the "new look" game room once it is all done.  For now, let us focus on the library, dear reader (as usual, in this post you may clix pix for BIG PIX)...
The “before” picture: the entire length of one side of the room was books.  Actually, more than the entire length: the books actually wrapped around the corner all the way to the door (the door is just out of the picture to the right in the bottom image).  These pictures were taken after disposing of my magazine collection (which filled the partially empty bookshelf spaces seen in the distant corner of the top left picture).  Not only had I run out of space to put anything, but I had reason to be concerned about the load on the floor--this room is above the garage and I'm not entirely certain that the previous owners had reinforced the floor joists when they finished it (I suspect that they just put the floor over ceiling joists).  There was always a bit too much creaking and an uneasy feeling of movement when you would walk out to the far corner of the room with the weight of all these books.  I also did not have the time to go through my books or to organize this space much when I moved in.  Instead,  I wound up just bringing all my decades worth of hobby stuff in here and making do, figuring that I'd get around to sorting it later: that time had come.  
 
All told, I culled 9 boxes of books.  I prioritized my collection by retaining my primary sources, antiquarian texts, and a core set of references.  I pulled secondary sources, oversized books, and also most of my painting references.  At this stage of my life, I have no need to paint any more Napoleonics, for instance.  I also set aside many books to shelve in the “main” library, opening up additional space in the man cave.  Rather than going through the hassle of trying to get a buck for these books, I invited a select group of my friends over and let them take what they wanted; the rest will be heading for donation. Five  boxes worth of books went with my friends, saving me much hauling to dontation. For a deeper dive on the takings and that evening, you might want to check out Mark N's post on his My Brave Fusiliers Blog. 
 
Post-cull state of the war-room library...mission accomplished. The opened up space will make room for a display case and a cube refrigerator (something I've always wanted in my man cave but did not have the room for).

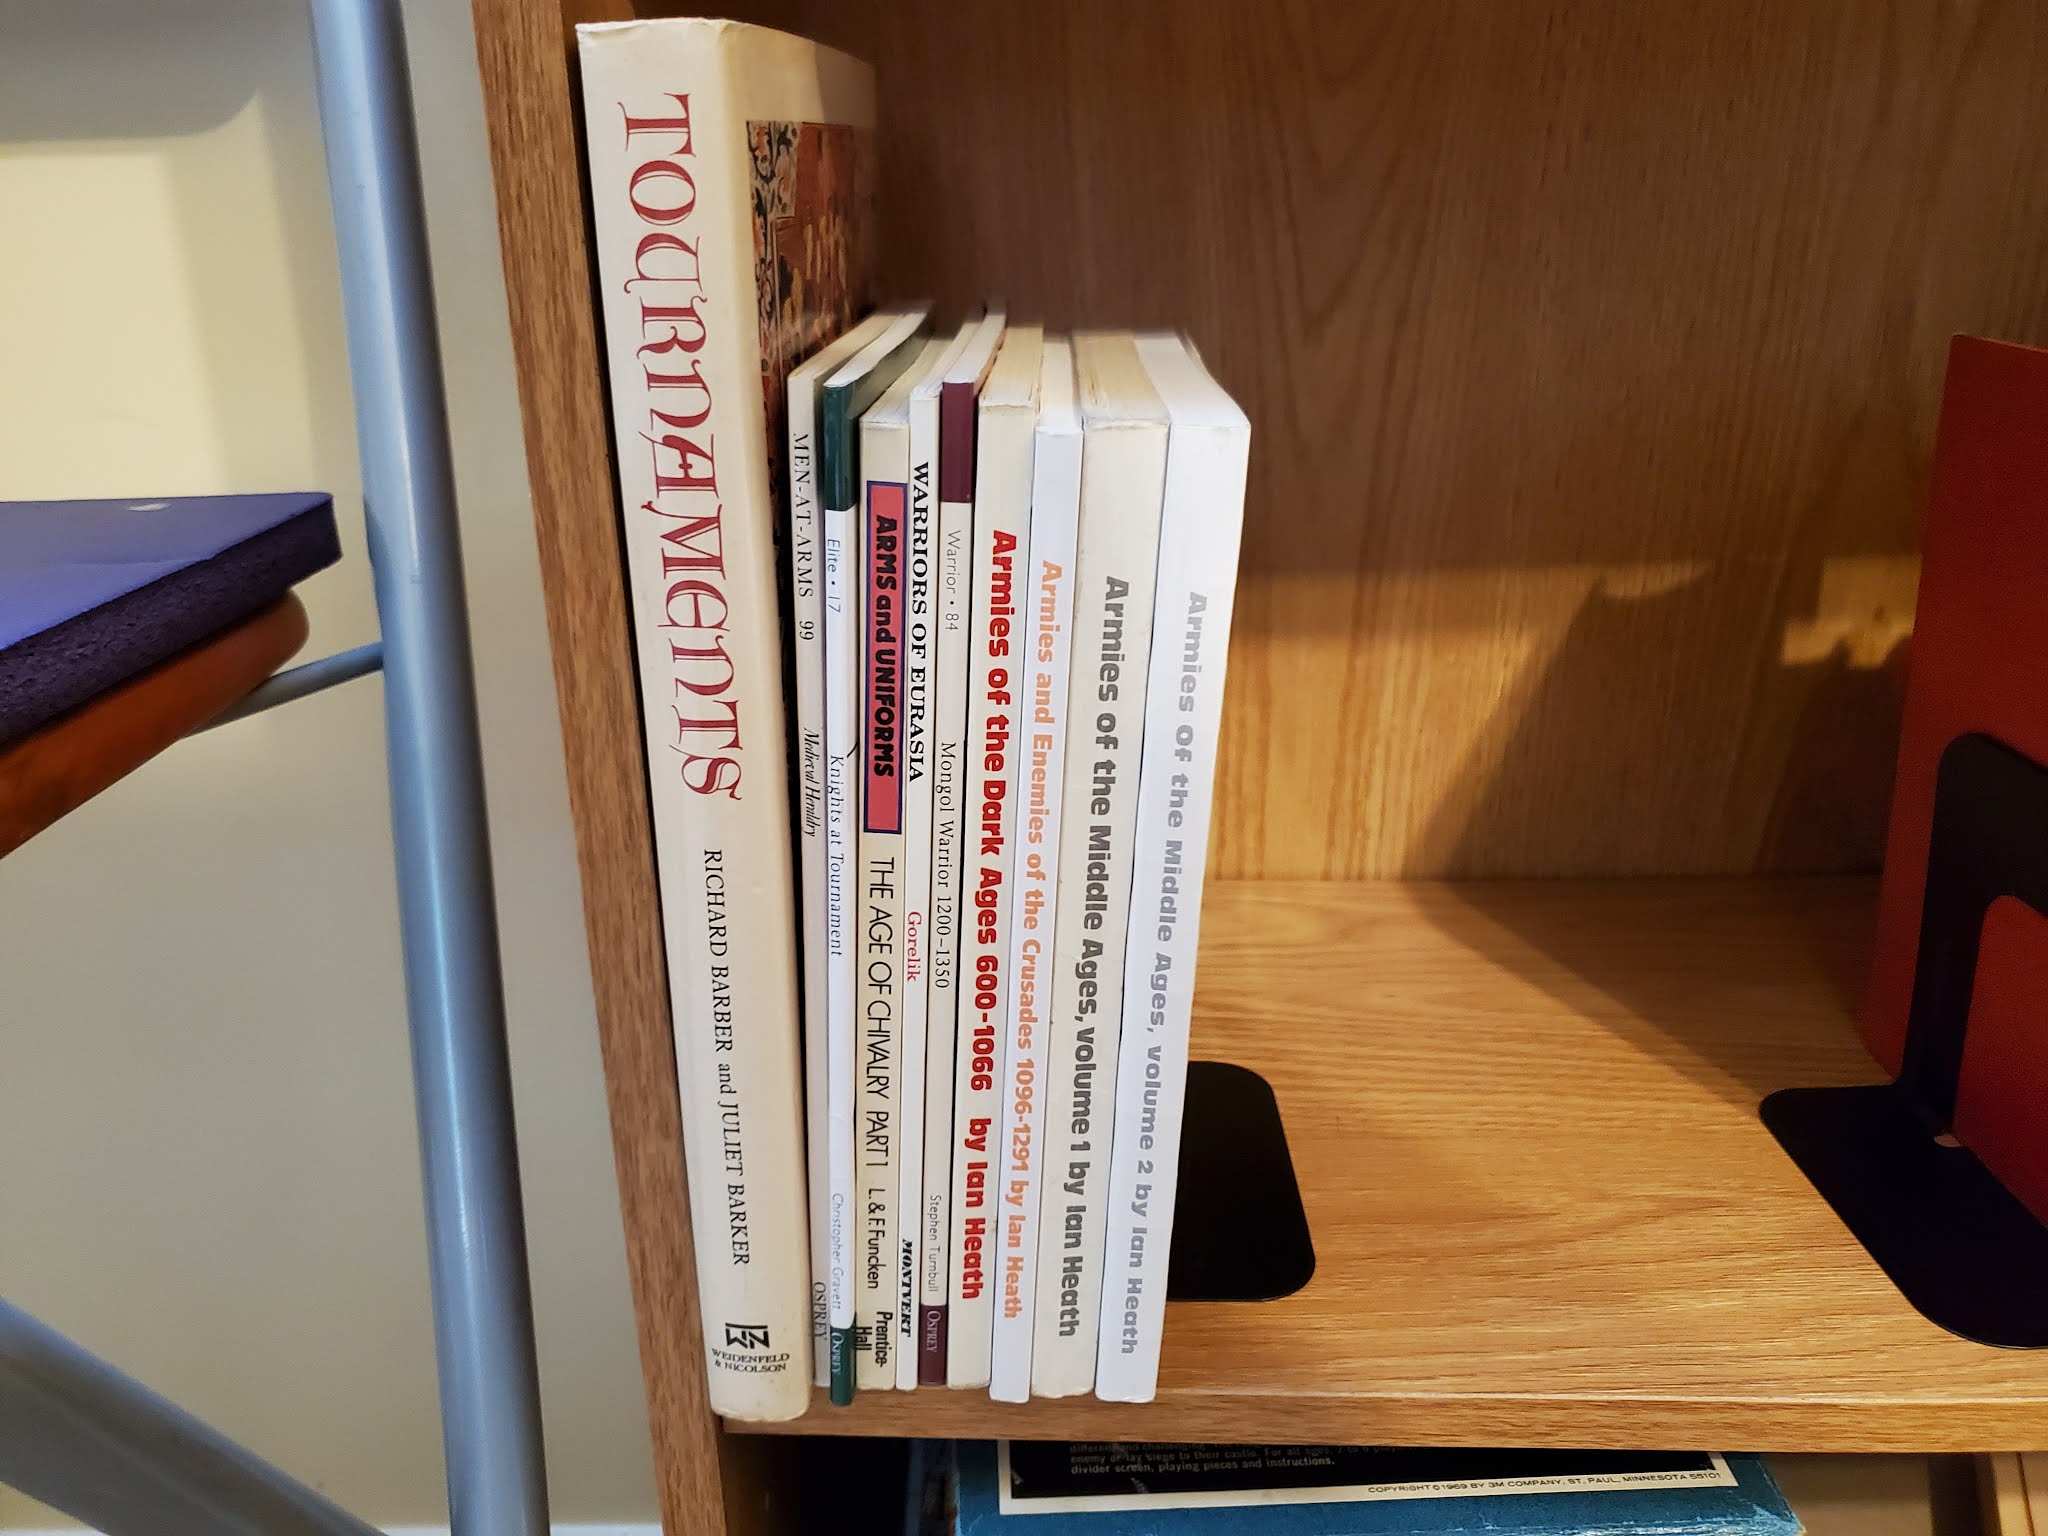
I retained a very serviceable set of secondary sources/references for my hobby activities in the man cave...
A shelf of 17th century materials...
A shelf of 19th century (Post Napoleonic) materials...
A shelf of Napoleonic materials...
A combined shelf with medieval and 18th century materials...
A shelf of wargame rules (mostly for reference)--and "active" sets of wargame rules (with supporting materials) kept in archive boxes other spots in the room.
A collection of 19th century primary materials remains in the corner shelf. These are "good reads" and browsing material (war correspondents reporting from various conflicts, a smattering of biographies, collections of cigarette cards, collections of Punch war humor...).  Partially seen in the above left picture is my sword collection, which formerly had just stood in the corners; this has been organized as part of this effort as well (more on that in another post, dear readers).  
 
I moved the selected antiquarian and primary references from my man cave into the "main library" (pictured above).  Before doing so, I culled four boxes of books from this collection--which will also be heading for donation.
...the books brought down from the man cave to the main library consist of three shelves on the Great War and one shelf of other antiquarian texts, mostly Napoleonic with a smattering of older texts. 
 
In other spots, I have retained various oversized antiquarian books; the above is a collection of reportage from Colliers war correspondents on the Russo Japanese War...
...a bound volume of The Graphic from 1898/99: much room, text and image, is devoted in these to topics of interest to those of our ilk...
...plus various and sundry other interesting oversized volumes of a similar nature from the period...

...pride of place among my oversized volumes, however, goes to a copy of Mouillard that I was fortunate enough to acquire...
...an example of one of the colorful and informative uniform plates in the Mouillard.
 
This exercise was not without sentiment. I retained a core set of old wargame magazines and vintage rules that were of special nostalgic value to me in their own special box.
 
As you can see, although this post may be about books that are no longer in my possession  (literally, ex library), it is not about getting rid of my wargame library.  In later posts, I'll report on the other components of this reorganization and my renewed gaming space. 
 
Excelsior!

Related Posts Plugin for WordPress, Blogger...