Monday, September 19, 2022

SEPTEMBER GAME NIGHT AND PIKEMAN'S LAMENT BATREP


The usual suspects gather ahead of our club's September Game Night.

This will be a modest update on hobby activity in these parts; specifically, reporting on our club's recent Game Night.  Coming out of Covid, regular attendance has not yet fully recovered.  Pre-covid, we would schedule 3 games of 6 players each, and often have a game with 8 mixed in.  We have shifted that down, planning either 4 player games or some other combination.  For this Game Night, we had a large game of 8 players and a small game (mine) of 4 players.  And it worked out perfectly. There was some concern about floating both games, but in the end 15 worthies gathered to play (2 game masters, 12 players, and 1 observer)--lower than our pre-Covid norm, but trending up and boding well for game nights going forward in the coming post-summer "gaming season." But enough of that.  As I mentioned, we had 2 games.  First, there was Don M's game, the big one, with 8 players...

...it was a Sikh Wars game using a variant of Age of Eagles...

...using Don's fabulous collection of Old School, shiny 25mm figures (mainly Minifigs, I believe) organized in big units, and lots of them!  Click pix for Big Pix...
...I was running my game at the other end of the room, so can't say much about the progress of Don's game other than to say that there were 8 fully engaged and enthusiastic gamers. Based on the noises floating across the room, a good time was had by all. 

For my part, I ran my 4-player Eastern Renaissance Pikeman's Lament Convoy Escort game.  The details of this scenario are available in my July 24 post, so I won't repeat them here.  The major addition since that playtest is that I have given the scenario a "real" name (Von Casimir's Express) and put everything together into a pdf scenario packet [Click] for anyone who would like to give it go. 
The field of Mars--with its handsome advert--ready to go...
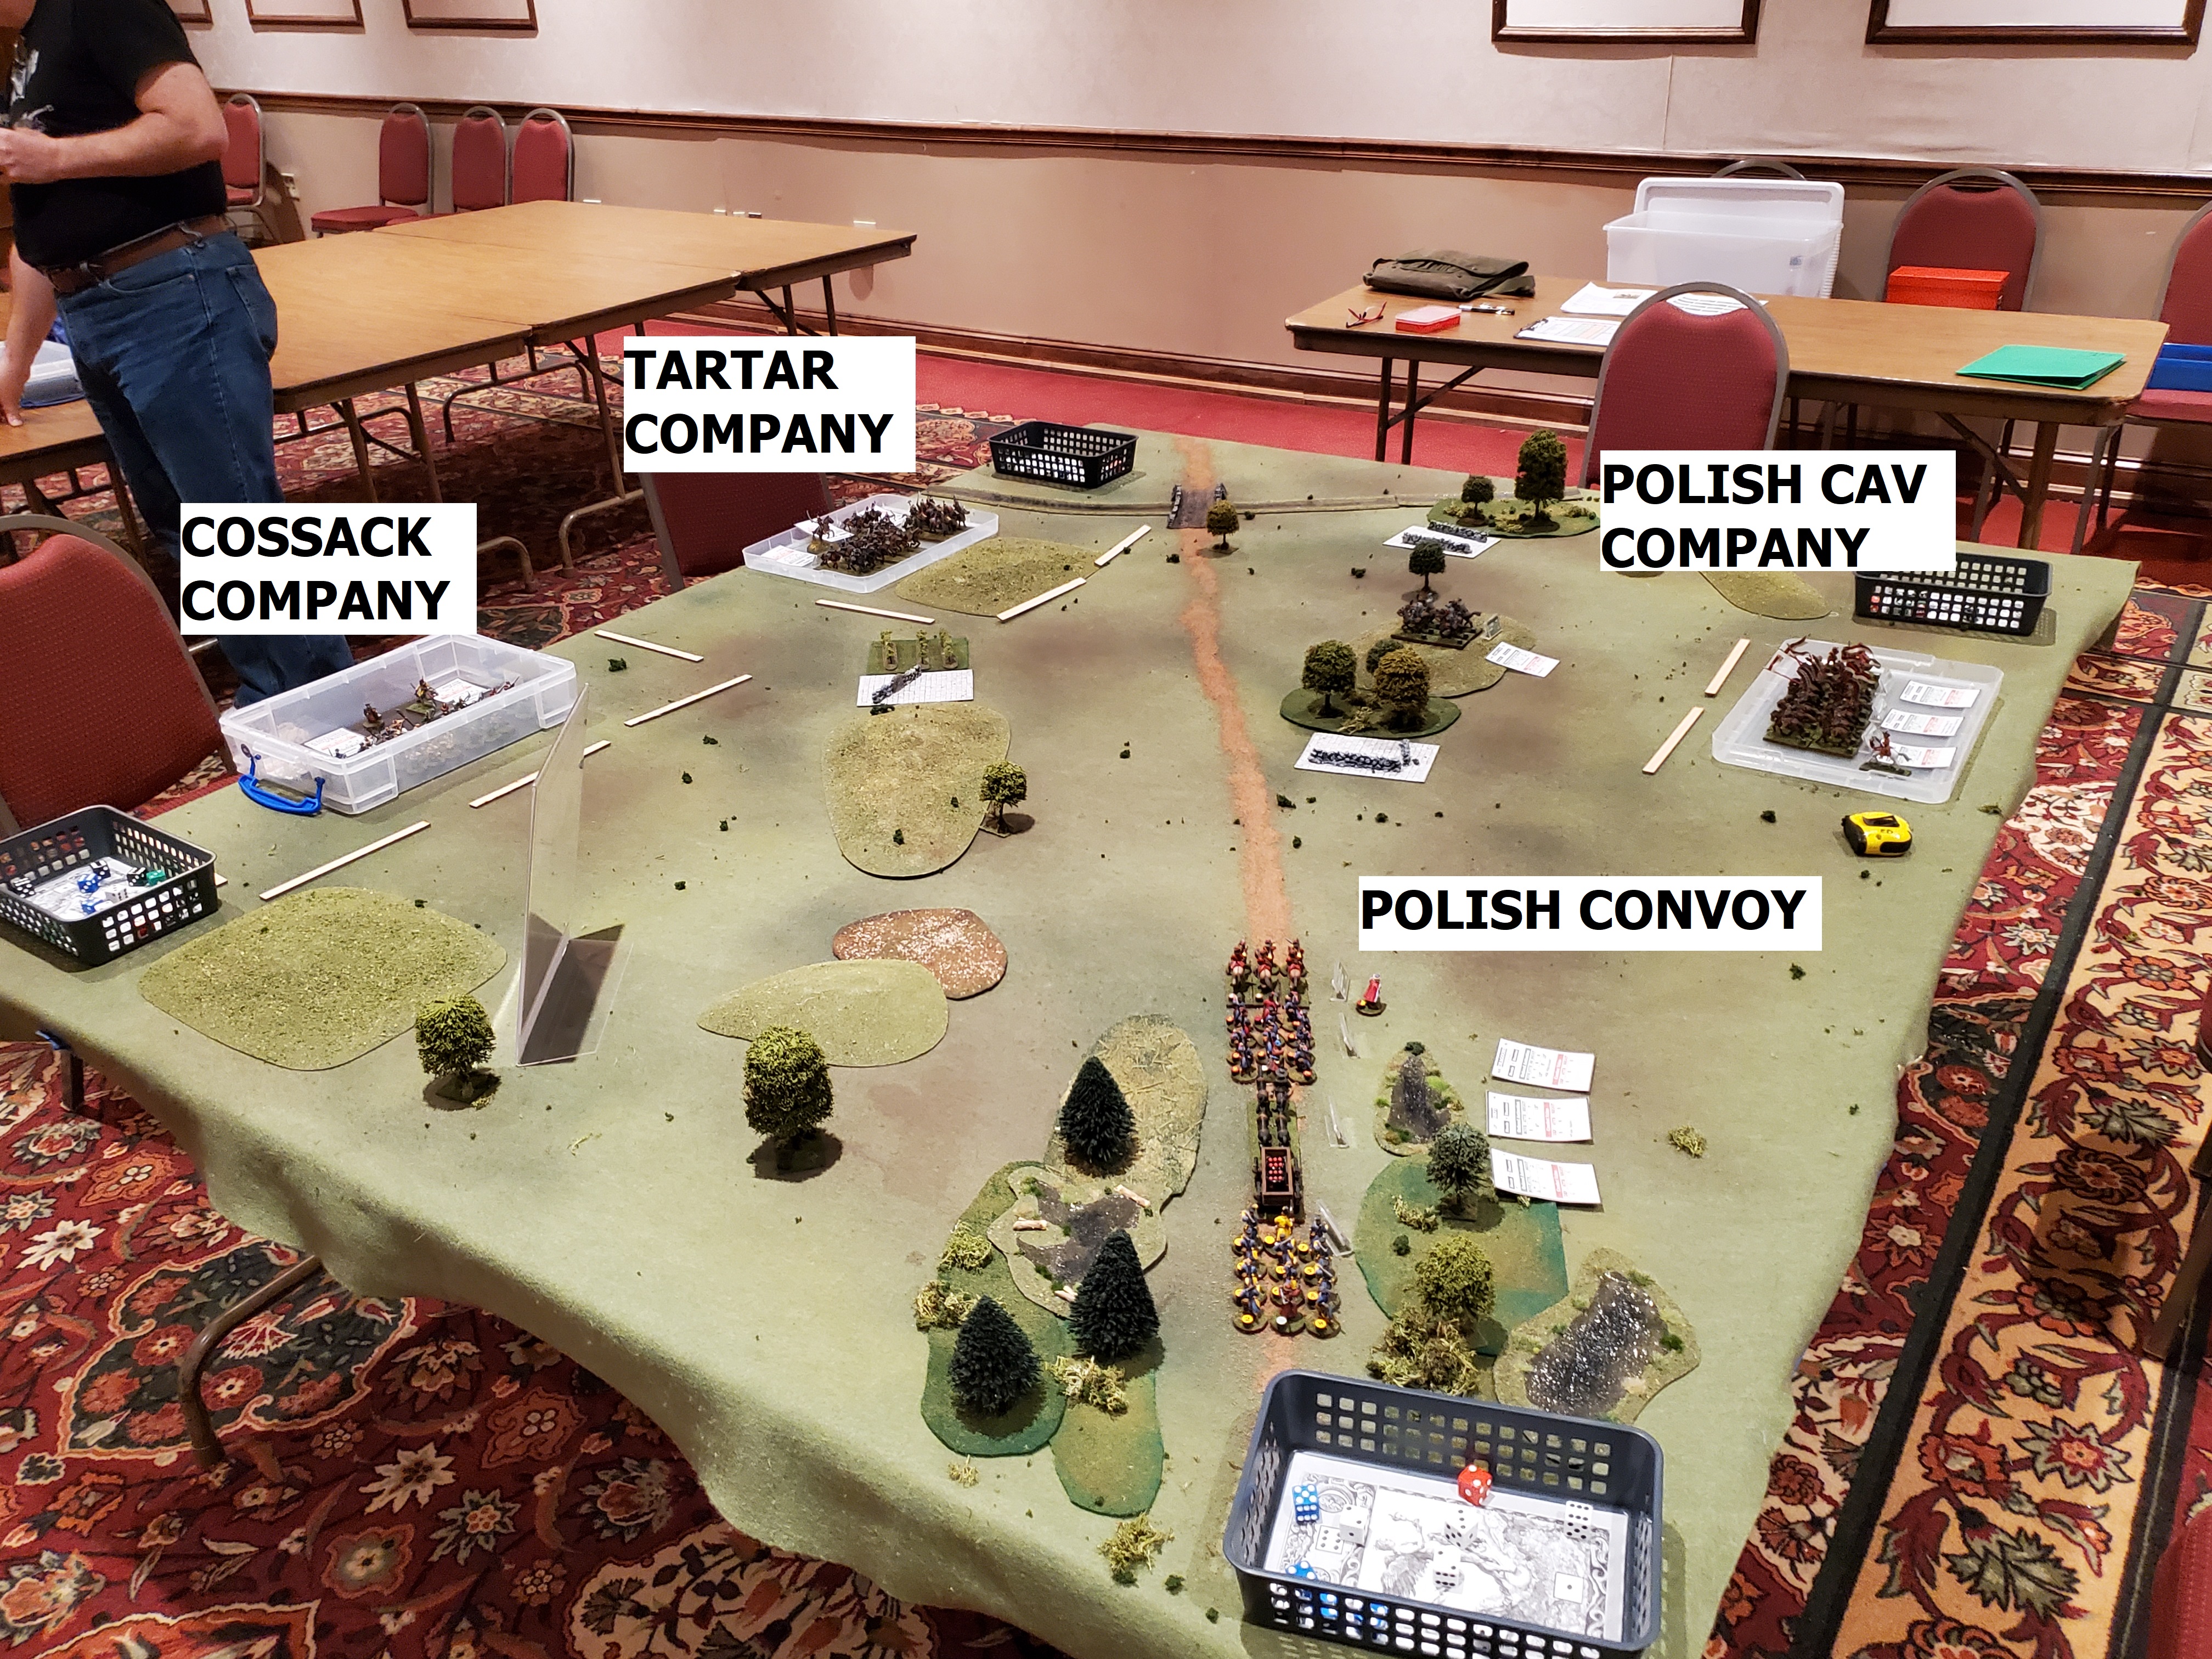
By way of quick refresher, the scenario has the Poles (right side of picture) vs the Cossacks and Tartars (left side of picture).  The Poles have a convoy entering the table that must make its way to the bridge at the other corner. The Cossack/Tartars want to intercept it, and the Poles want to get it there. There are four Pikeman's Lament companies in the game, one for each player.  
Chris would take the Convoy...
Rob Z (aka, "Oilcan") would take the Polish Cav (one unit, the Croat Light Cav, started on table)...
AJ would take the Tartar Company...
Bob O would take the Cossack Company...
...and the game is afoot: (left) the convoy emerges into open territory with the veteran Polish Dragoons out ahead and the lead shot (Polish Haiduks) peeling off to the left. Meanwhile, the Cossack and Tartar companies surge ahead, with AJ turning two units of his Tartar company towards the convoy. There's trouble ahead, literally, for Chris...
...Rob (foreground) trying to coax the Polish Cavalry company forward. Early on, he would be plagued by failed activations that would delay the ability of the Polish Cavalry to influence events. Ralph (with chapeau at end of table) played in the playtest (as the Tartar Company) but was a spectator for this game.  Chris (left of Rob) looks on expectantly from his soon-to-be beleaguered convoy for the cavalry to arrive (not unlike a Western movie)...
...The Cossack axemen would clash with the Convoy's Polish Dragoon escort, wiping them out but taking lumps in the bargain. (Left): the reduced Axemen are poised to hit the convoy--but are are momentarily halted by a failed morale check.  These would hang around for another turn or two but then go "poof" when they failed morale and routed away (Right): Chris trying to bring up his second Polish Shot (Haiduk) unit to help fend off the oncoming Cossacks...

...a long shot of the action as Rob finally manages to get the Polish Cavalry forward in numbers...
...which would draw the attention of AJ's Elite Tartar Ulans and Dragoons...
...who would be obliged to turn away from the convoy and back towards the oncoming wall of Polish horse...
...leading to a series exchanges of fire and maneuver between the Tartar and Polish Cavalry wings, with the Winged hussars eventually swinging across to try and break through to the convoy. This would bring up a showdown between the Winged Hussars and the elite Tartar Ulans, who were the only thing that blocked them from riding down the Cossacks. An epic strength-on-strength fight swayed back and forth, with each taking and dishing out lumps but neither vanquishing the other...
...while the Hussars and Ulans tangled, Bob O was able to bring forward his surviving unit of Cossack Axemen and close with the convoy: decision to the Cossacks/Tartars!
 
It was a usual Pikeman's Lament affair, with swings and shifts brought on not only through player action but also failed activations--but in this case, both sides suffered from these pretty much equally, so it wasn't one of those games where the outcome seemed to be decided more by the dice than the players.  Most importantly, the players were good sports and rolled with these punches.  Only one of the players (AJ) had played Pikeman's Lament before, and he had only played it once. So this was in many ways an introductory game.  Despite this, the players picked it up quickly and things ran smoothly, confirming our impression of Pikeman's Lament as a particularly worthy system for club and convention participation games.  

All in all, another good way to end a week: visiting with friends and playing with toy soldiers!
Excelsior!

Wednesday, August 24, 2022

CROWNING THE HILLS: PORTABLE WARGAME COLONIAL BATREP


Another Colonial fracas in that perennially troubled locale, Dismal Province, Afghanistan, circa 1880. 

In this post, dear readers, we are happy to report on some recent gaming activity 'round here. A few of we happy pensioners gathered for another round of daytime gaming and luncheon on a Tuesday in my War Room. Given that the majority of the games in our club are multi-player, I wanted to take my Portable Wargame 2nd Afghan War variant up one level and test run it with multiple players. Previously, I had only tested it in a 1 vs 1 game.  For regular (ie, long suffering) readers of this blog, it might be of interest to know that I have updated the PW Variant player reference and unit characteristics sheets that I posted earlier. So if you have the older ones, you may want to look over the new, shiny ones (previews and pdf for downloads can be had on the PW content page at the above link: scroll down the page a bit to get to them). So much for administrative details. On to the game. As usual, in this post you may clix pix for BIG PIX).

The Field of Mars.  For those who may not be familiar with it, the Portable Wargame is a miniatures-on-a grid system. I use offset 6 inch squares, a pattern which replicates a hex system. My terrain, however, is made for non-gridded games. Mixing the two still works on a grid, understanding that an entire grid is defined by the terrain piece. You have to get used to reading the table in terms of the underlying grids and not exclusively by the contours of the terrain pieces, particularly when pieces straddle several grids (mainly the case with hills).  The above shows the layout defined by the grids. This battlefield represents a break in a line of high ground which stretches East and West (top to bottom) and opens into open ground spreading to the North (top), with a line of barrier hills stretching across this key terrain.  A stream runs across the gap, with a ford mid-way along its length. 

The boundary between the grids at the ford is considered open terrain (and will be key). The road has no effect on game play. 

Maj C. Langley Smoot and Capt Raymond Dubious are leading elements of the Dismal Province Military District Force to clear and secure key high ground ahead of the passage of a convoy through this area.  
This type of mission was common, and was known as "Crowning the Hills."  The imperials enter on turn 1 from the south, paying for the entry grid. The complete scenario can be found here. The Imperial objective is to have units on any three hills at the end of an Afghan activation (note: they don't need to have exclusive control, just units surviving on three different hills at the same time). As a twist, there is an immediate victory condition as well. If the Imperials can get 2 units on any 2 hill grids (irrespective of where: could be on the same hill, could be on different ones) with no Afghan units adjacent at the end of any Afghan activation, they win. 
Above Left: Maj Smoot takes the left column, consisting of Gun #1, Battery A, Royal Artillery, Troop 1 of the 19th Bengal Lancers, 2 Companies of the 45th Bengal Infantry, 1 Company of the 2nd (Sirmoor) Gurkhas, and 1 Company of the 59th (East Lancashire) Regiment.  Above Right: Capt Raymond Dubious leads the right hand column, with Troop 1 of the 10th (Prince of Wales) Hussars, 2 Companies of the 15th Bengal Infantry, 2 Companies of the 34th Bengal Infantry, and 1 Company of the 92nd (Gordon) Highlanders (the "Ladies from Hell" being the only Elite unit on the table).

Hill Chief Ali Hassan Bin Sober and his ally (for the day) Chief Omar the Black (ie, the Mad Mullah), have other ideas, however.
Afghan pickets posted along the frontier have alerted the chieftans, who have called up the local lads who are hurrying to the scene to get in on a good fight...and to block the progress of Smoot and Company. Their aim (in game terms) is to keep the Imperials from achieving their objective. As an extra twist, the Afghans also have an automatic victory condition. If there are no Imperial units north of the stream at the conclusion of any Afghan activation after turn 2, then the Afghans win.  In these instant conditions, each side has both an automatic defeat and victory mechanism.  The game also had a 10 turn limit. All of these combined provided a range of options for players to pursue, so there was no way to simply focus on a piece of turf to the exclusion of other considerations. This also prompted very active play on both sides. 
Above Left: Hassan Bin Sober heads up the clan on the left, with 1 band of tribal horse, 1 band of jezzail firearm infantry, and 2 bands of swordsmen (melee infantry).  Above Right: Omar the Black leads the right clan, with 1 band of mixed firearm infantry, 2 bands of swordsmen (melee infantry), and 1 band of the dreaded Ghazis.  Leaders aside, each figure represents a strength point. 

The Imperials begin with the initiative (first move) on turn 1. After that, it is based on a die roll. The ball opens with both sides entering and moving towards each other... 
Above Left: Major Smoot marches up the gut, riding with the Gurkhas while the East Lancs (with Colours) move up the road to the ford.  Above Right: 1 Company of the 45th and the Bengal Lancers swing to the extreme left end of the line in a wide flanking move...
...meanwhile, Captain Raymond Dubious (on the right) sends the 10th Hussars on a wide flanking march to the right end of the line, where they are countered by the Afghan tribal horse. The infantry of the right column takes up position along the stream and begins to exchange fire with the Afghans on the hills. 
Hassan Bin Sober comes up with his jezzails, reinforced by the Afghan Bannerman (the British Colours and the Afghan Banner added one SP to the units they were assigned to--player choice). In the distance, Omar the Black can be seen coming forward with his mixed firearm unit (just beyond the Ghazis)... 
...The battle develops. The Ghazis came up and first chased the 59th--who would wind up taking quite a beating this day--back across the ford, and then mixed it up with the Gurkhas at the bend in the stream (the Ghazis would be wiped out, eventually).  After the tribal horse (out of picture to the right) had been dealt with by shooting from the infantry, the 10th Hussars  countermarched from the right wing and can be seen trotting across the rear towards the ford. The Imperial infantry of the right and the Afghan firearm infantry on the high ground continue to snipe at each other.
 
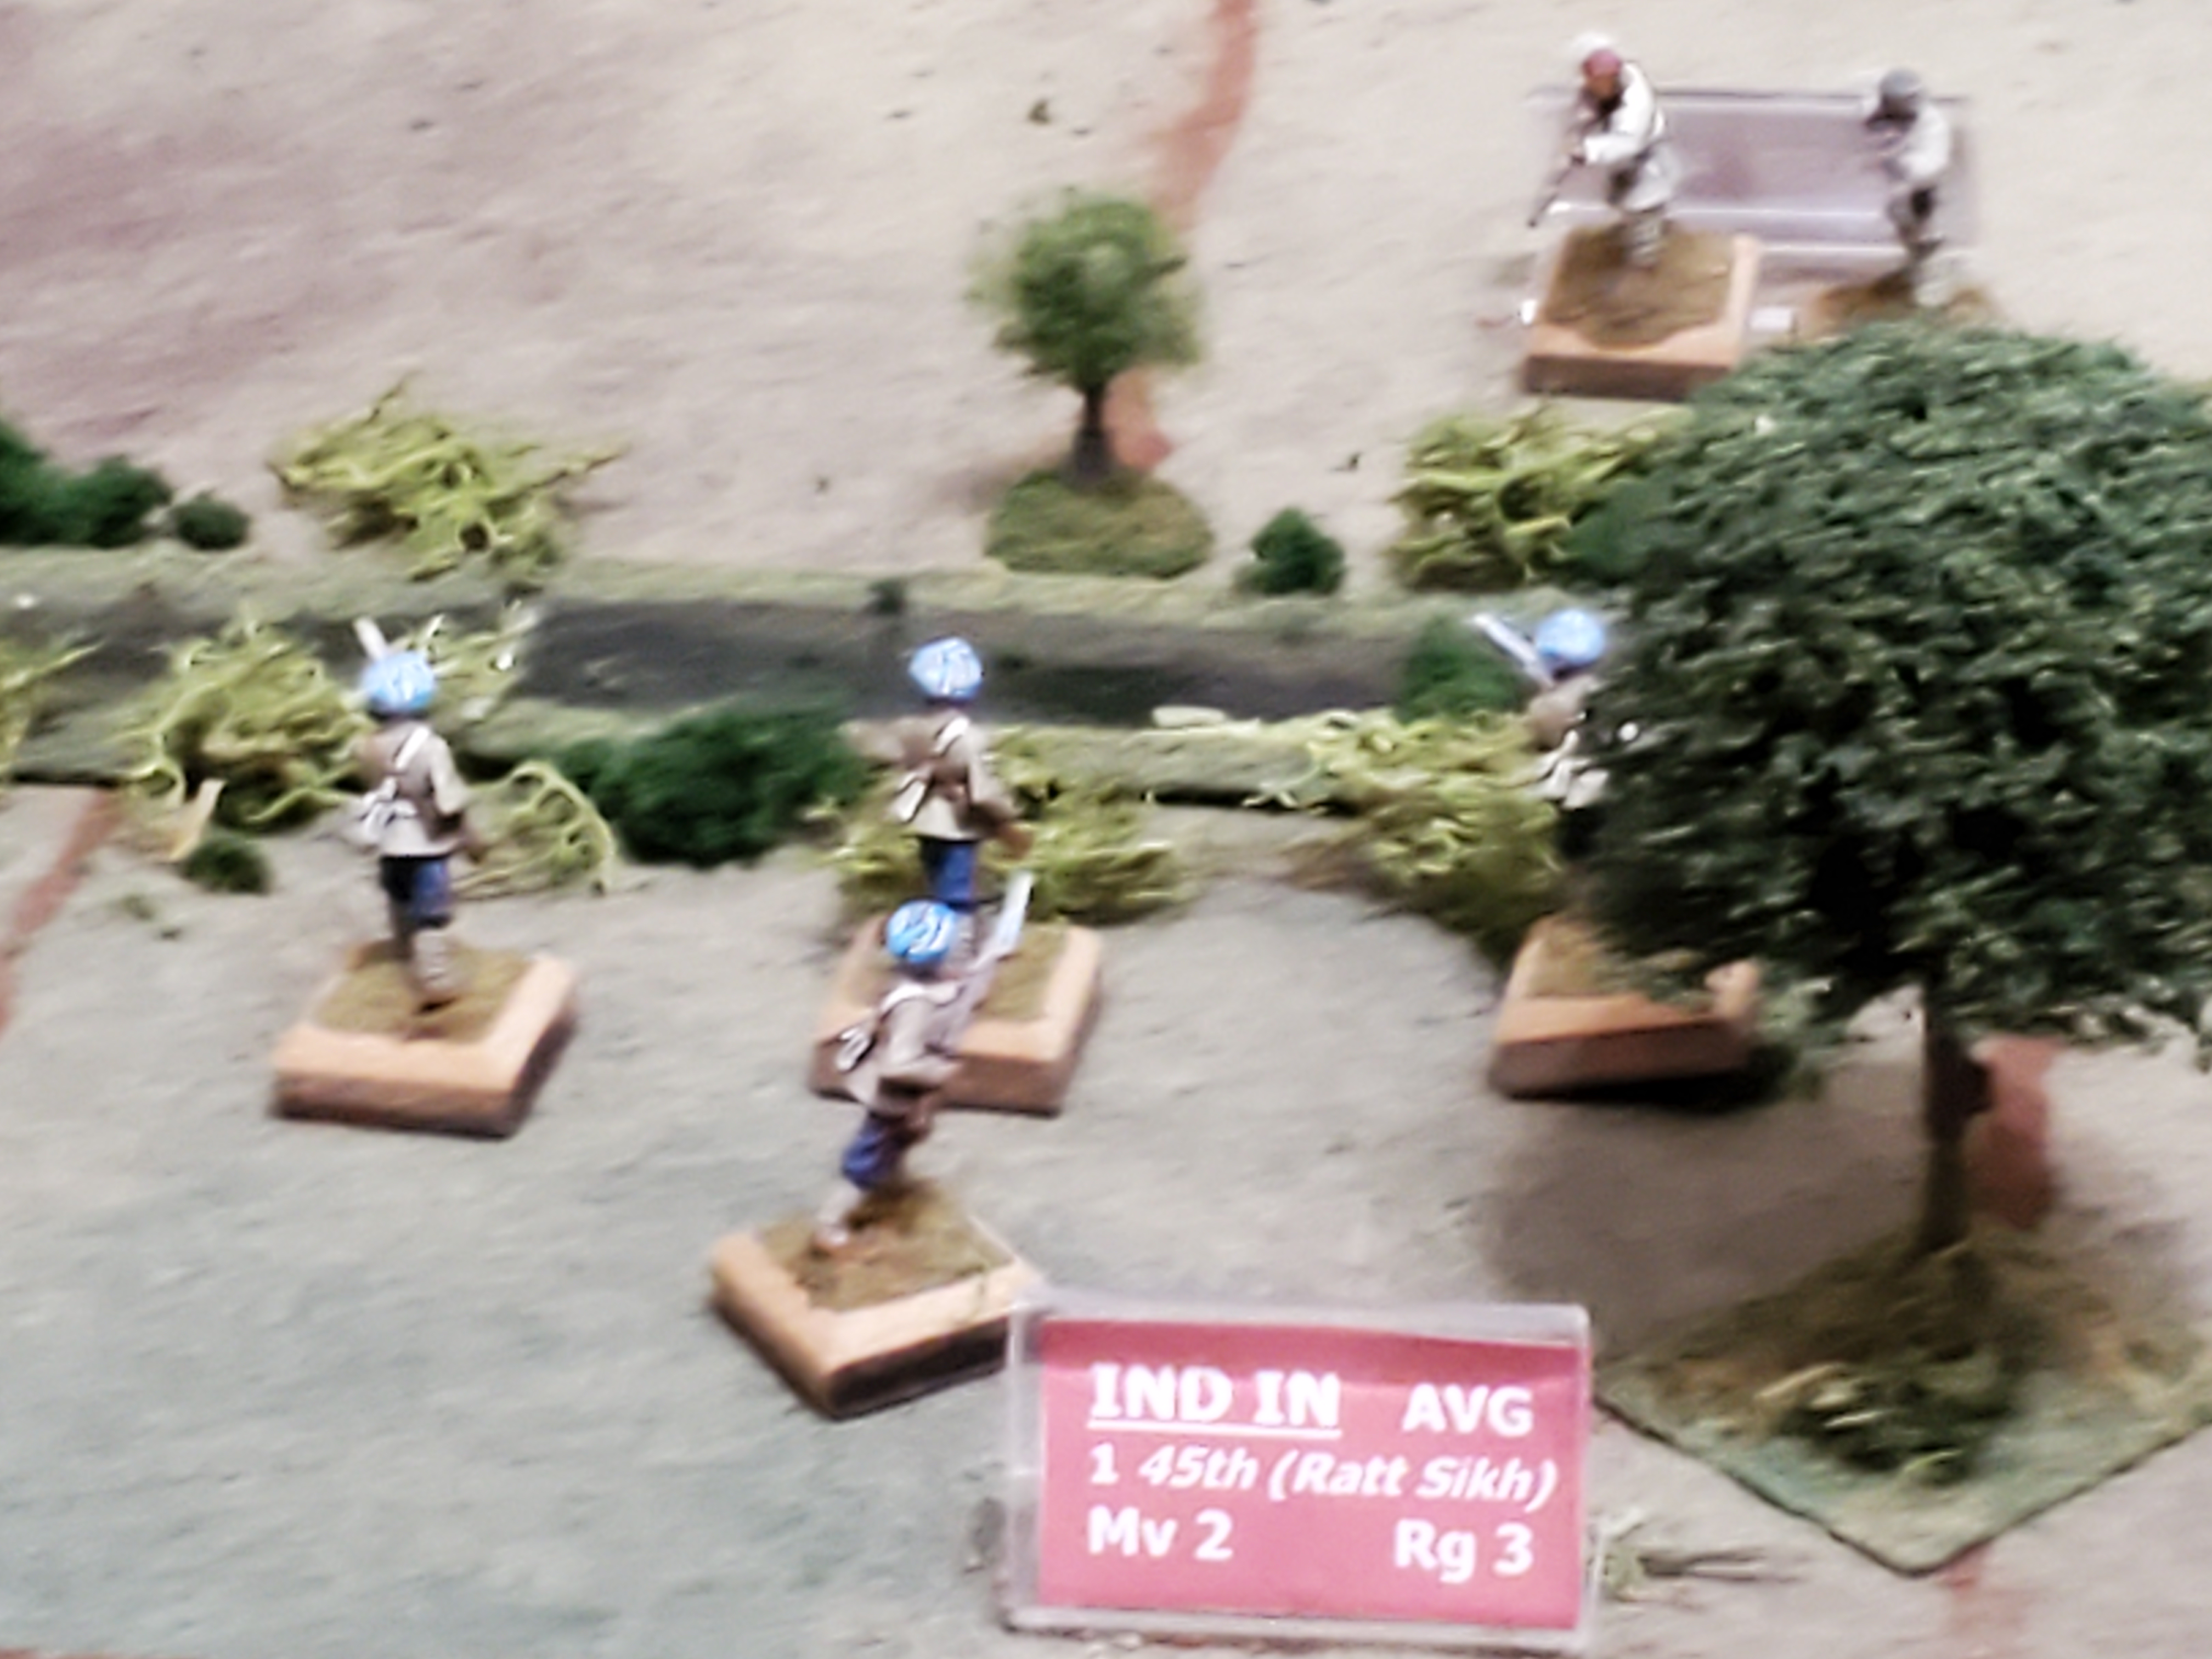
...Above Left: a blurry action shot of the furious fighting as the 1st Company of the Rattray Sikhs fends off an assault by a band of Afghan tribesmen. Above Right: the Royal Artillery lobs shells downrange (the Sport of Kings)...
...With the Ghazis gone, the 10th Hussars and the Gordons move across the stream to push into the center of the battlefield. They are met by headlong counterattacking Afghan melee infantry. This scrum would go on for several turns, with the Hussars dismounting and then both they and the Gordons forming close order to defend themselves. Eventually, they would withdraw back across the stream, leaving behind blooded and reduced swordsmen. Very cinematic...
...Above Right: Maj Smoot would then lead the Gurhkas to take a grid on the hill to the Afghan right. Above Left: Meanwhile, out on the extreme left end of the line, the Bengal Lancers would dismount to complete their flanking move, and they and 1 Company of the 45th Bengal Infantry would fight their way across the hill and nearly achieve automatic victory by having 2 Imperial units on hill grids with no Afghans adjacent...
...nearly that is, but for a mixed firearm band, reduced to 1 figure, who retired and stood defiantly adjacent, preventing instant disaster for the Afghans--with time running out for the Imperials. Nevertheless, the Imperials had 2 out of 3 requirements for achieving a regular victory, with units occupying 2 different hills...
...and with night falling, the 10th Hussars then charged over the ford, with Captain Raymond Dubious leading, and won a melee, advanced after combat, and were in position to do a follow on charge on the hill. The game would come down to this last attack on the last combat round of the last turn of the game.  If the Hussars could force the Afghans back, then they would  advance and be the 3rd unit on the 3rd hill, spelling victory for the Imperials...
...it was a 50% chance--and under the gaze of Hill Chief Ali Hassan Bin Sober, the Afghans, although flanked, turned back the Hussars.  Decision in favor of the Afghans: a near run thing, indeed!

Above Left: Thwarted at the last, but still game, Imperials: Ralph (white shirt) who played the part of Captain Raymond Dubious and Earl (standing) who fulfilled the duties of Major C Langley Smoot. Above Right: the triumphant Pathans: George (dark blue shirt), who played the part of Omar the Black, and Mike C, who donned the turban of Ali Hassan Bin Sober this day. 

Always a bonus to see the classic old Ral Parthas in action. Thanks to the players for a grand afternoon of gaming!

Excelsior!


Related Posts Plugin for WordPress, Blogger...