Showing posts with label Saga. Show all posts

Sunday, October 6, 2019

MONGOL SAGA WAR BANNER AND TROUBADOUR

Mongol War Banner and Troubadour: Gripping Beast Mongol Riders

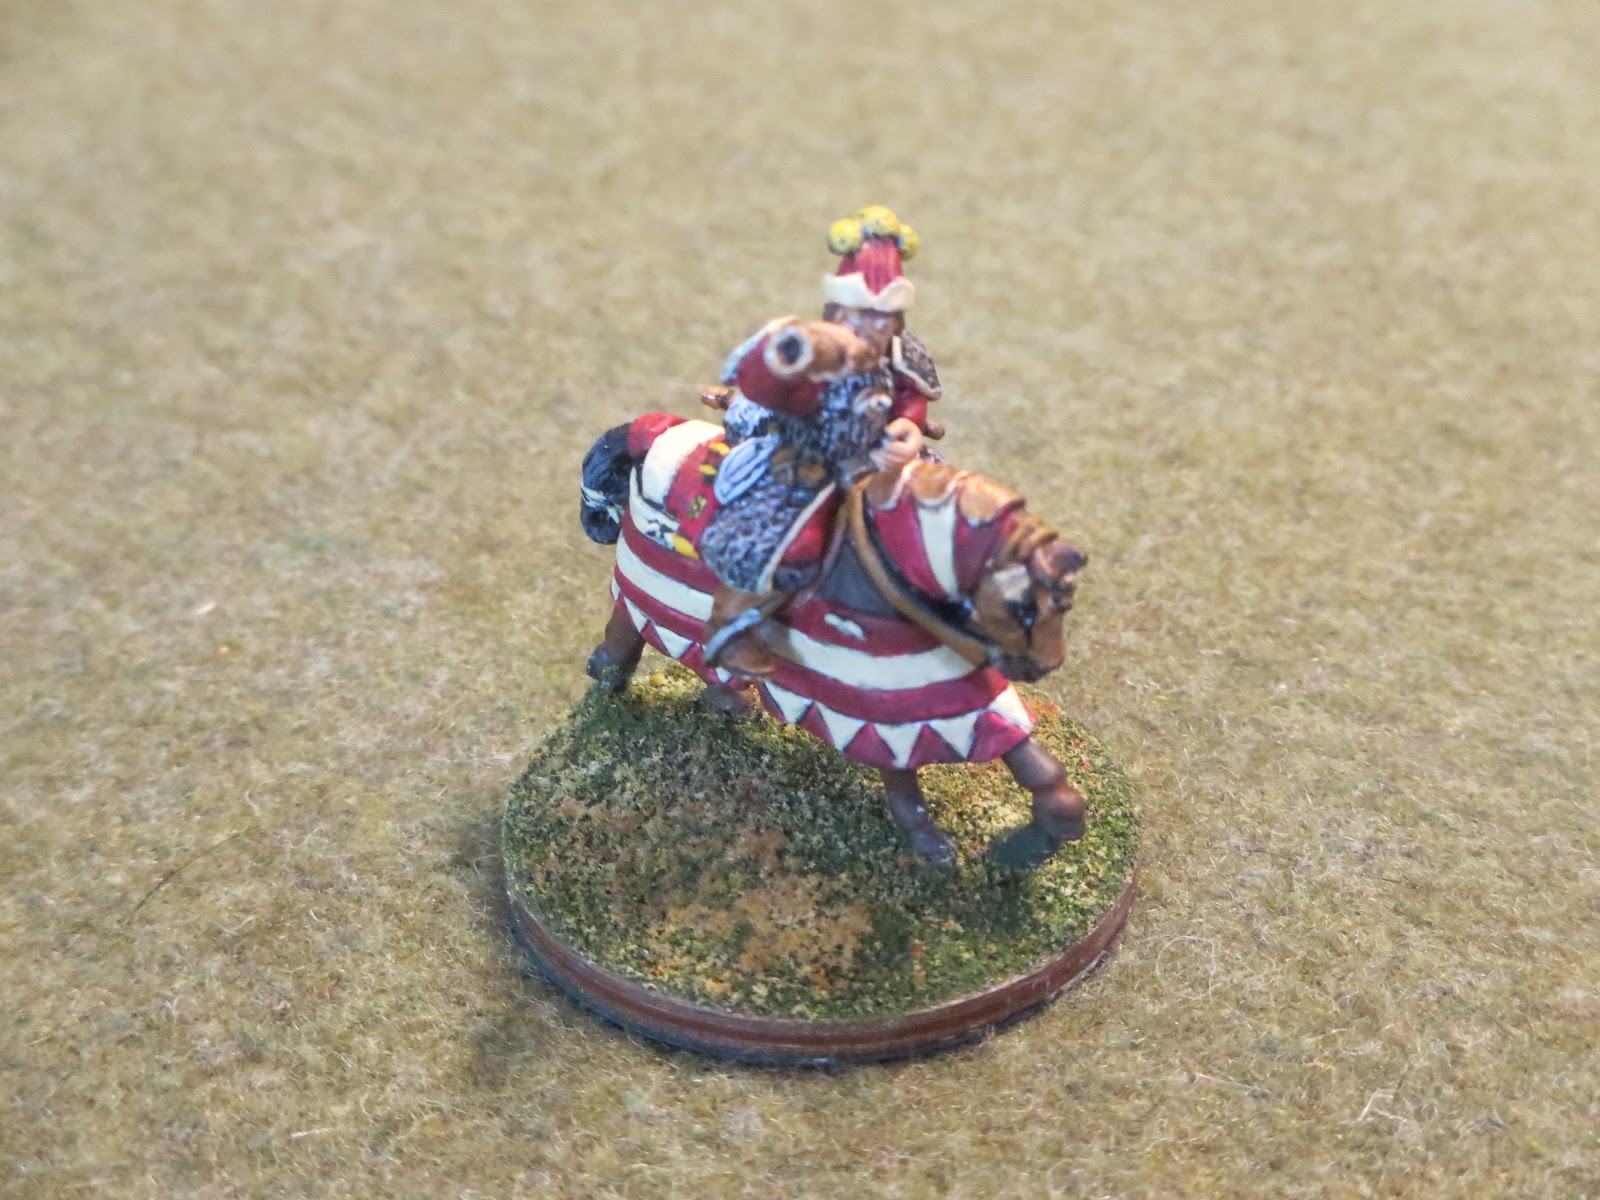
In order to round out the options for my SAGA Mongols, I needed two specialty figures: A War Banner and a Troubadour.  Well, technically, I already had a War Banner, but he is a light cavalryman, which works well with my Warriors.  I wanted to have a Warbanner that was tailored to fit in with my Hearthguard and Warlord (hey, specialty figures are as much about the look as the effect, ne'st-ce pas?).  This post, dear readers, will provide a brief study of my treatment of these two specialty figures.  As usual, you may clix pix for BIG PIX.
The riders are from the Gripping Beast Mongol line.  Specifically, the Trumpeter is from the Heavy Cavalry Command set and the War Banner is from the Mongol High Command set. 
The horses you get with these sets tend to be a mix of armored and caparisoned.  The  Gripping Beast Timurid Medium cavalry come almost exclusively with these caparisoned horses. 
I had collected sets of Timurid command as well as mulitple Mongol heavy cavalry and command sets, leaving me with a healthy mix of both types of horses.  I concentrated the armored horses in my Hearthguard, leaving me with a pile of caparisoned horses left over, which I used for my Troubadour and War Banner (being more colorful).
For the Troubadour, instead of going with yellow and bright red, I used Humbrol Matte Cream (which comes across as yellow) and Model Master Guards Red (a dark red). I then went with flat yellow for the pom poms and ornaments on the quiver and bow holster. 
On the War Banner horse, I wanted to make the neat detail of the studs stand out as much as possible.  I tried something new and used a goodly wash of black (these were white primed) to bring out the seams before painting in the squares on the caparison (normally, the wash comes after).  In this way, the colors were brighter and would not be dirtied by washing them over after they were painted.  Although this worked well, I found that I still wound up adding a very weak wash and some touch up to the finished caparison after the fact.  I then went back and did the studs in black and tipped them with brass.  After matte coating the horse, I went back again and touched each stud with Model Master Gold in order to brighten them up and give them a bit of shine.   

Although I'm probably not likely to field a Troubadour or a Hearthguard War Banner in a SAGA game, these figures can be used, and probably will, among my Tartar contingent in my Smalle Warre system (perhaps sooner rather than later: one always likes to play with one's new toys).  

Uukhai!


Wednesday, September 4, 2019

BLOODY MONGOLS!--OR--A SAGA BATREP


In this post, dear readers, I am happy to relate the story of my newly fitted out SAGA Age of Crusades Mongols in their first game. I had previously played them in another configuration on two or three occasions with winning results.  This would be the first time, however, where I would be fielding bonafide Mongol Heavy Cavalry figures as Hearthguards and proper speciality figures for the Camel Drummer and Warlord . Surely, the results would be more glorious than ever!  Coming over to play the game was club-mate, friend, and fellow bloggist AJ (who has an excellent report on his blog as well).  In this post, as always, you may clix pix for BIG PIX.
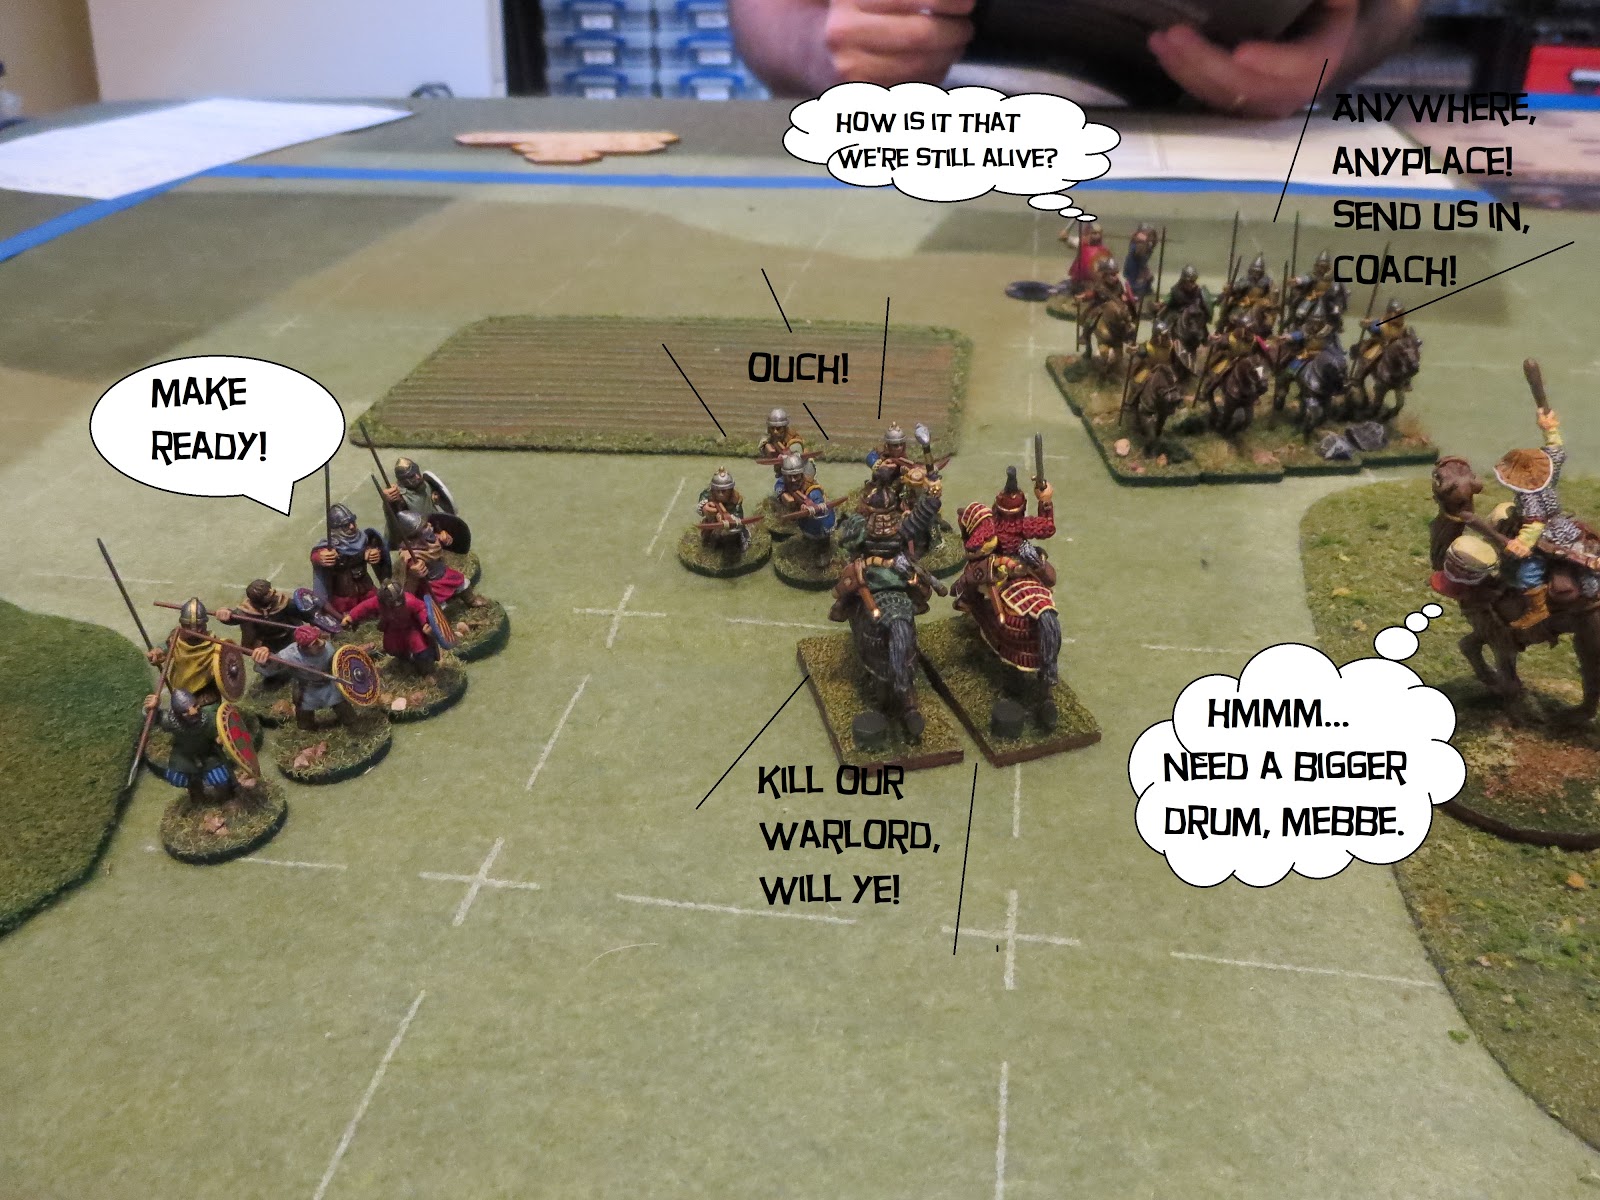
AJ brought along his Eastern Princes Crusader army, and we played the bog standard Clash of Warlords scenario from the back of the Age of Crusades book. Above, the terrain consisted of two fields, a woods, and a large open hill.  I plunked the open hill down in the midst of the table, which forced the other pieces to be pushed to the sides and left a "gate" through which my mounted force could flow. Above, AJ, as player one, has done his partial deployment and my Mongols (at the bottom of the picture), have been fully deployed.
Down to business!  AJ has completes his deployment: a compact array centering on the crossbows in the bad terrain supported by the warwagon.  This latter was a specialty unit that would oblige me to attack it vs anything else in range--a distraction but one that did cause me to spend an extra turn shooting vs closing, and diverted some of my momentum away from my primary thrust, which I do think contributed to the result (but more on that in a nonce....)
Seeing AJ's deployment, and based on previous successes with my Mongols, I hatched an ingenious plan!  I would advance aggressively on my right and hit hard with everything early on.  As in the past, my Mongols enjoyed a SAGA dice advantage to begin with, magnified by the War Drummer's special ability to give an activation to every mounted unit within L.  This  allows the Mongols to bring up multiple units to do a coordinated attack that can take out an enemy unit in turn one or two, which in turn reduces the opposing side's SAGA dice further...growing the SAGA dice differential ever more in the Mongols favor. This, then, was my BRILLIANT plan: it had worked before...
With the "Predator" special ability, I equip one of my Hearthguards with Composite Bows. This is particularly nasty given that Hearthguard, if missile armed, shoot with an aggression of 1 (meaning one for every figure), whereas warriors and others have a shooting aggression of 1/2 (one for every two).  Adding a few other specials to this kind of shot can push the number of dice fired up to 10 or 12.  I push my Predator Hearthguard forward to within composite bow range...
...and I bring up the rest of the Mongols using the Drummer's activation ability. I then target the left most Eastern Prince warrior unit...
 ...and then bring up my main, 8-man Mongol Warrior unit (composite bow armed) to take another shot at it. Although I succeed in reducing the warrior to below the 4 figure threshold for generating a SAGA dice, I do not succeed in eliminating it outright, so partial success....
....AJ then shifts his wagon over and the survivors of his Warrior unit back (in SAGA, you gain points for eliminating individual figures--and extra points for eliminating a unit, so AJ has safeguarded those points by keeping these last two figs on the table).   AJ brings up his Warlord with accompanying lifeguard figures to thump my (now) vulnerable Warriors...
 ...He also swings his Eastern Horse wide around the flank to get a shot in at my Camel Drummer (these guys would be flitting about the table harassing me all afternoon).  I hadn't known about the mobility of the Eastern Horse, so hadn't thought my Drummer was at risk.  This could prove to be a costly turn of events, both for my Warriors and the Mongol side if  the Drummer gets picked off this early...
 ...however, in these early stages of the battle AJ's dice were "cold" to say the least...
....thus, not only were his potentially damaging early counterattacks blunted,  but his Warlord suddenly found himself in a most vulnerable position facing my Hearthguard and Warrior. Meanwhile (not pictured), I had taken out the Wagon with my second Hearthguard unit using a "Hell for Leather" charge, which allowed it to hit the wagon and then retire a full "Long"move back, away from the crossbows...
...Following up, I managed to send the Eastern Prince Warlord off to the Dead Pile (albeit at the cost of a few Hearthguard due to a combination of melee and some crossbow pot shots). Meanwhile, AJ's Eastern Horse Mercenaries, having evaded a charge, return from the wing and shore up his center (damn nuisance, those fellows!)....
....An overview of the battle at that point. Things are looking good for the Mongols, thinks the Warlord.  Except, for one nagging thing....
...he finds himself alone and in range of AJ's crossbows: who enjoy a bit of target practice at his expense!
With both Warlords in the Dead Pile, things are still looking good for the Mongols, who still have the Camel Drummer, a four and a one figure Hearthguard, and three Warrior units left that are all still viable enough to generate SAGA Dice. Time to pull back out of missile range and regroup, thinks I...there are only a few more turns left; perhaps it's time to use my mobility advantage to evade and delay against a decidedly less mobile force (Eastern Horse aside: nuisance that they are!)...
 ...AJ, seeing these developments, contemplates plans for my demise...
...and he advances! This was too much! With my Camel Drummer in support, I push forward my viable Hearthguard unit in the an attempt to crush those puny crossbows in the open, hoping to scoop up points for figure kills and a bonus for eliminating the unit--and a bit of payback for killing my Warlord--unfortunately, AJ pulls the Band of Brothers special ability for the crossbows, which adds bunches of defense dice to these benighted fellows...
...who survive the onslaught (albeit still reduced).  At this point, I notice that my reduced Hearthguard and Camel Drummer seem a bit vulnerable...
 ...and the payback is swift in coming!
...End of game: result to the Eastern Princes! Well played, that man, AJ!

So much for another of your humble correspondent's Ingenious Battle Plans! 

Still, it was  a grand afternoon playing with toy soldiers in good company. Watch these pages for a rematch in the near future!

Tuesday, August 27, 2019

GRIPPING BEAST MONGOL HEARTHGUARD (SAGA)

3 Points of Mongol Hearthguard (12 figures): Gripping Beast Mongol Heavy Cavalry

For anyone who may have noticed, it has been nearly a month since my last post.  August doldrums aside, this is in part because I have been engaged with painting my Saga Mongol Hearthguard contingent.  This was a big departure from my norm, being my first multi-figure foray into medievals, with all that this entailed (unfamiliar painting techniques for body armor, horse barding, and whatnot; my first experience with shield transfers--complicated by domed shields--and non-standard uniform and kit).  One month, basically, to complete 12 figures--I always said I was a slow painter!   
When getting started, I found that there were few examples of painted Gripping Beast Mongols on the interwebs to help inform my approach (aside from those in the Gripping Beast catalog,which I will comment on later in this post).  It would seem that there aren't alot of Mongols out there in the Saga-sphere.  Thus, I hope that this study will be of interest to anyone curious about Saga Mongols or who may be embarking on these figs. As usual, in this post, you may clix pix for BIG PIX...
The look I was going for was "Mongol Knights," with each figure being an individual: some carrying shields and some not, a variety of weapons, and differing "liveries" (for lack of a better term).  To support this variety, I bought shield packs (three types),  and Timurid/ Mongol weapon packs (hint: I would recommend picking up weapons and/or shields to anyone ordering these figures given that you won't be able to forecast what comes in the package).  Researching Mongol heavy cavalry, I was struck by how colorful they were. So I tried to capture this by balancing the "spiny" look of armored warriors with infusions of color.  I mounted these figures so that I could also use them as Tartar Nobles in my Smalle Warre system (hence the colored, numbered pegs on the stands).

 Mongol Guard In War Mask from the Netflix Marco Polo Series
Inspired by both sources and the war masked Mongol guards in the Marco Polo Netflix series, I made sure that my Hearthguard included a healthy contingent of these intimidating fellows. 

I also took a crack at some lacquered/colored armor (red and blue), as well as a figure in  blackened armor.  There were lots of options for adding color and delivering variety when it came to handling the horse barding.

Although there was great variety among the figures, where I did have doubles (above), I varied the color schemes, weapons, and shield options between the figures.  The hand-painted shield in the upper right picture is based on an example found in an exhibition on Mongol arms and armor (found online).  In the case of the pair in the lower picture,  I modified the second figure by taking off the standing plume and adding a horsehair mane (out of green stuff).  I added horsehair manes to several other helmets that didn't have them as well (I wanted my Mongols to have horsehair manes--black, of course!). 

This is another minor modification.  I used the leader in the Gripping Beast High Command set (pictured at the top--with the triple plume) and substituted a horsehair mane out of green stuff for the standing plumes: opinions may differ, but I think this fellow looks much more intimidating and business-like in this headgear.  I also did the horse barding in alternating lines of  gold and steel.  The warmask is black with highlights of brass and gold, rendering an impressively dark visage for this fellow, I think. 

The saddle blankets, quivers, and the bow holsters provided options for adding color as well.


I think the illustrations of the Gripping Beast figures in the online catalog, although professionally painted to a standard I could never approach, make the figures appear more stiff and cartoon like than they actually are.  By way of illustration, here are two of my favorite sculpts from among the sets I received: very different than the impression the sample images render.  The figure on the left is actually from the Timurid command set (I added the horsehair mane to this one as well: it comes with a naked spiked helmet). 

You gotta love any historical weapon set that has a warhammer shaped like a hand holding a spike--don't mess with the Mongols!
One criticism I have is that the hand position is unsuited to the lance or mounted spear.  Thus, I dumped the idea of using those weapons and instead went with an unconventional look of mainly axes, maces, and warhammers--with a few swords tossed in. 

The new Hearthguard divided into two six figure units as it might appear on the Saga table along with my recently completed  Warlord and War Drummer.  Next step will be to get some practice with them ahead of our Saga Game Day. 

 Uukhai!
Related Posts Plugin for WordPress, Blogger...