
WHAT IS THE "STYLE?"
I suppose I should comment on my overall approach, my style. I must admit that I hadn't given it much thought until I received comments on this blog characterizing my basing as "old school" and/or "minimal" (in a positive way, I am gratified to say). Although I haven't articulated even to myself what my style is, I would agree that it is an "old school" style in that it derives from my beginnings in the hobby, where basing was certainly minimalist--a coat of green paint or maybe some green flock for special units. Although I certainly admire the artistry of basing effects and styles I see on display elsewhere, my style (or non-style) conceives the base as "framing" for the figures rather than as an object of display in itself. This minimalist approach comes to the fore, I think, when you have many bases on the table, rendering an overall effect rather than multiple individual effects (if that makes sense). There is also a tactile and utilitarian component to this basing system: the bases are self-consciously bases, if that makes sense. I don't try to camoflage function, in other words. Instead, function adds a level of form and appearance. For instance, they have enough heft in feel and look to invite the gamer to handle them as opposed to grasping the figures. The set-aside space on the back is a distinct palette to display game information. Without further ado, then, here is my process explained. (In the below, you may clix pix for BIG PIX, as usual).
THE STUFF
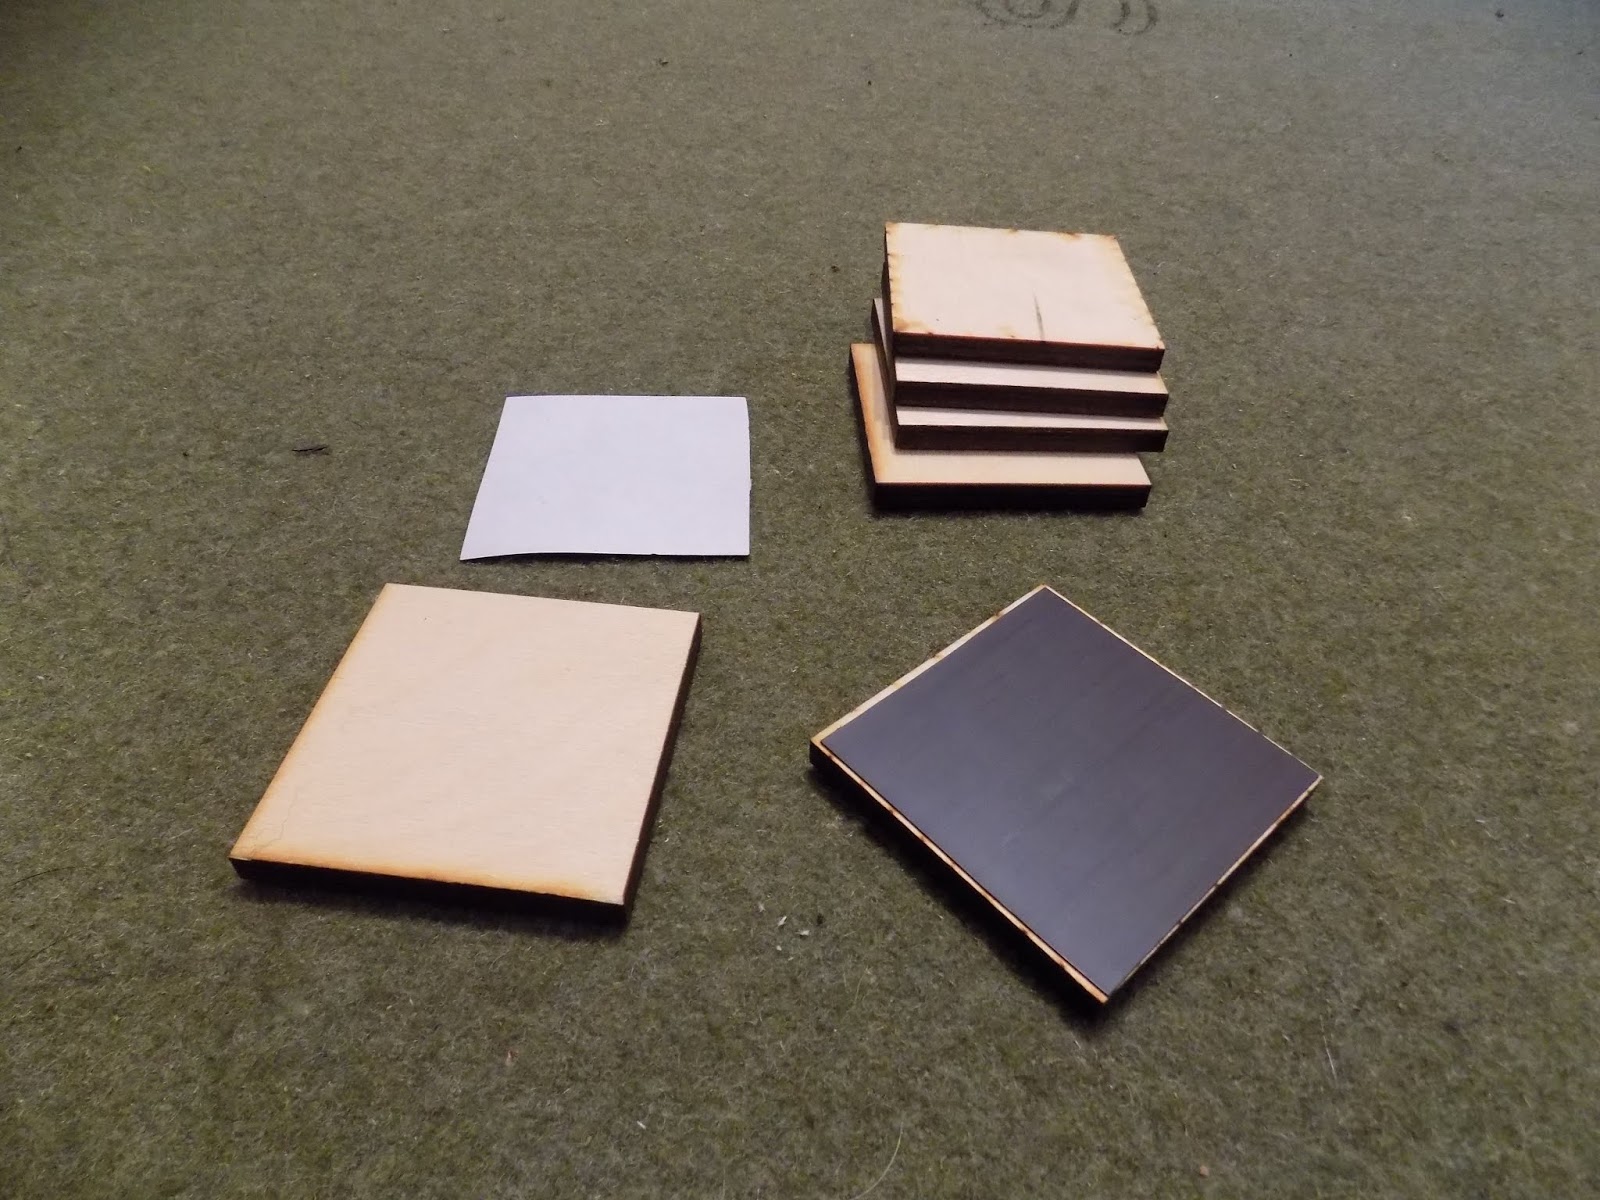


Upper Left: I put a metal strip on the back of my bases to facilitate labels and markers. For these, I use metal wargame bases (these and my markers will be the subject of another post, dear readers). I spray paint the metal strips using Super Maxx Satin Hunter Green (8979). This household spray paint covers in one step, with no need to prime. As a matter of fact, it doesn't work well with primed metal (I found that out in early usage). Upper Right: I use brown as a base under the flock and then black for the edges.

STEP 1


STEP 2


Apply the wood filler (or a similar putty) to the bases of the figures. How much you use is a matter of taste. I generally don't fill the entire base, but am instead looking for an effect that makes the figures blend in with the base. Sometimes that means covering more of the base than others, creating more of "mound" effect.I generally do like to have the filler be flush with the edge of the metal strip on the back.


Clean up by using a dry towel to wipe the excess off of the metal strip. I have found that a dry towel gives a cleaner line than a wet one, which causes the filler to run onto the metal.


Use a putty knife to smooth down the filler at the edge of the metal strip. This is a rough step, so don't be too concerned about getting it perfect. The next step will take care of that.


STEP 3

This step is no doubt familiar to all: applying the base flock (Green Blended Turf).


Paint over the top of the base with a generous coat of brown, to include the edges around the metal strip. Make sure to clean off any paint on the edges. Drag the base through the flock.
 Check for a nice, clean edge before setting aside to dry.

STEP 4

After the paint under the green flock is dry, add Earth Blend highlights.


Using an eyedropper, add Scenic Cement to the base until all the flock is soaked.


Sprinkle Earth Blend to highlight. One trick to keep from having shadows under the figures where no highlight falls is to tip the stand to spread the highlight evenly under them.


The scenic cement will bond the two applications into a single layer. Once dry, the bonded flock will form a durable crust and also will not shed. The scenic cement causes the green to darken. So the difference between the Earth Blend highlight and the underlying Green will seem less pronounced when just applied (above left) than when dry (above right). So it takes a bit of experimentation to get to know how much to apply to get your imagined outcome. Of course, there are other combinations of turfs that could be used as well.
STEP 5 (FINIS)


Finish by painting the edges black. One trick I've come up with to manage this potentially messy step is to put my stands on small boxes (Perry figures boxes are ideal). This gives full access to the edges without blacking my digits in the bargain.
GENERAL POINTS
GENERAL POINTS


Two illustrations showing highlight effects in the base scheme. In the Napoleonic unit in the right picture, you can see the effect of letting the brown underpaint come through where the flock is thin or there are small gaps.


Two command stands with the minimalist addition of Woodland Scenics Yellow Grass Fine Turf (T1343), and Noch Medium Brown Flocking (06520), the latter of which I find to be a very good combination with this palette.


This concludes my treatise on basing. I hope it's been of interest.

Excelsior!

A great tutorial AND lovely figures! The minimalist approach has much to recommend it. Some painters-wargamers make their bases too busy with stuff, which detracts from the beauty of the model soldiers themselves. I've certainly overdone it with basing materials from time to time.
ReplyDeleteBest Regards,
Stokes
Best Regards,
Stokes
Thanks, Stokes. Inclination and preference combine, I think. My attempts at more involved basing have not gone well--I suspect the fact that it was "going against the grain" of my deep down preference had something to do with it not going well.
DeleteThe finished figures are not only attractive but neat, tidy, soldier-like and the labelling is very useful. Great tutorial!
ReplyDeleteOf course, "neat & tidy" and "me" have been rather like vinegar and milk since birth! So like myself, my guys often wander through fields that need mowing.
Wandering through unmowed fields reminds me of my attempts at using static grass (shudder). There is something to be said for sticking with what one knows :)
DeleteI’m looking forward to reading more about the labels. As for basing: I found this to be a nice read and your ‘style ‘ is close to my own, especially for 15/18mm armies.
ReplyDeleteI was surprised to read that the bases are 6mm high. As that seems quite thick. Mine are on 3mm of course and people are always grabbing by the figure and not the base (including me) so maybe you’re on to something.
You’re bases look good and thanks for the tutorial; I liked it. 😀
Glad you liked it, Stew. I started doing the thick bases after joining my current gaming group (some years ago, now). It was something of a standard for basing for several game systems. Prior to that, I did 3mm thick basing, basically. The 6mm isn't as clunky as it sounds in practice (and I think if you look at my battle reports, you'll see how the basing looks in action).
DeleteFirst rate tutorial on your basing process, Ed! I picked up a few tips.
ReplyDeleteThanks, Jonathan. On my "to do" list is to add a content page with pdf versions of this and other "how to" posts that I've done.
DeleteNice stuff Ed. Funny that there's so many different ways to do this.
ReplyDeleteI agree. I'm sure that I have been influenced by what I've seen others do as well.
DeleteAn excellent tutorial Ed...
ReplyDeleteThere is a lot more to ‘the simple ‘ approach than one would initially think.
I have always believed that you should put as much love and care into your basing as you would into your miniatures...regardless of what finish you are aiming at.
All the best. Aly
Good points, Aly. Putting together the tutorial caused me to recognize what was involved with producing a "simple" product. I think it's a good lesson that applies to many forms of investment we have in the hobby.
DeleteBrilliant!
ReplyDeleteThanks, Mark. Good to have you drop in!
DeleteNice,clear basing tutorial although your simple is rather more than just green paint and very precise!
ReplyDeleteBest Iain
Thanks, Iain. Describing a process reveals how much goes into it (which can be surprising). There's an old exercise where you have students write how to make a peanut butter sandwich. And then you bring in bread and peanut butter and have them try to make the sandwiches based on what they actually wrote (with hilarious results).
Delete