
Mark D's new Spanish guerillas, on their still in-progress bases, make their (very successful) debut.
It's been awhile since I've posted about actual game activity. Thus, I am happy to finally report, albeit belatedly, about an excellent gaming visit I had with my friend Mark D (who also has a report on this game on his blog). Mark has been exploring skirmish level rules for his expanding Peninsular 28mm collection. Having not settled on anything yet, he invited me up to his place to give my Brother Against Brother Napoleonic variant a try. Regarding that system, I'll make some contextual references to some of the rules in this report, but will defer a more direct discussion until the end. Suffice it to say that I nicknamed it "Not Brother Against Brother" to tip players familiar with BaB to not assume too much when playing it. It retains the bones of BaB, but departs in details. In this post, as usual, you may clix pix for Big Pix...


The view from the French side after the first turn. The discs are my universal activation markers (in case anyone is wondering).

Overview of the action at the conclusion of the first turn--just before the "stuff" hit the fan.
INITIAL ACTION ON THE LEFT...


My Legere cozy up to the hedge and let loose a withering, albeit futile fusilade (signifying nothing). The British Guards sidestep out of the fire lane. The French grenadiers, taking a cue, also scuttle behind cover. Meanwhile, the British lights have yet to activate, and seem to be up to something (what is Mark up to, we wonders?)...

...with a high movement die roll, Mark swings the British Lights out on to the flank, with the company officer along to allow them to initiate melee. A crafty move, indeed: who will activate first next turn? The British Lights or the Legere?
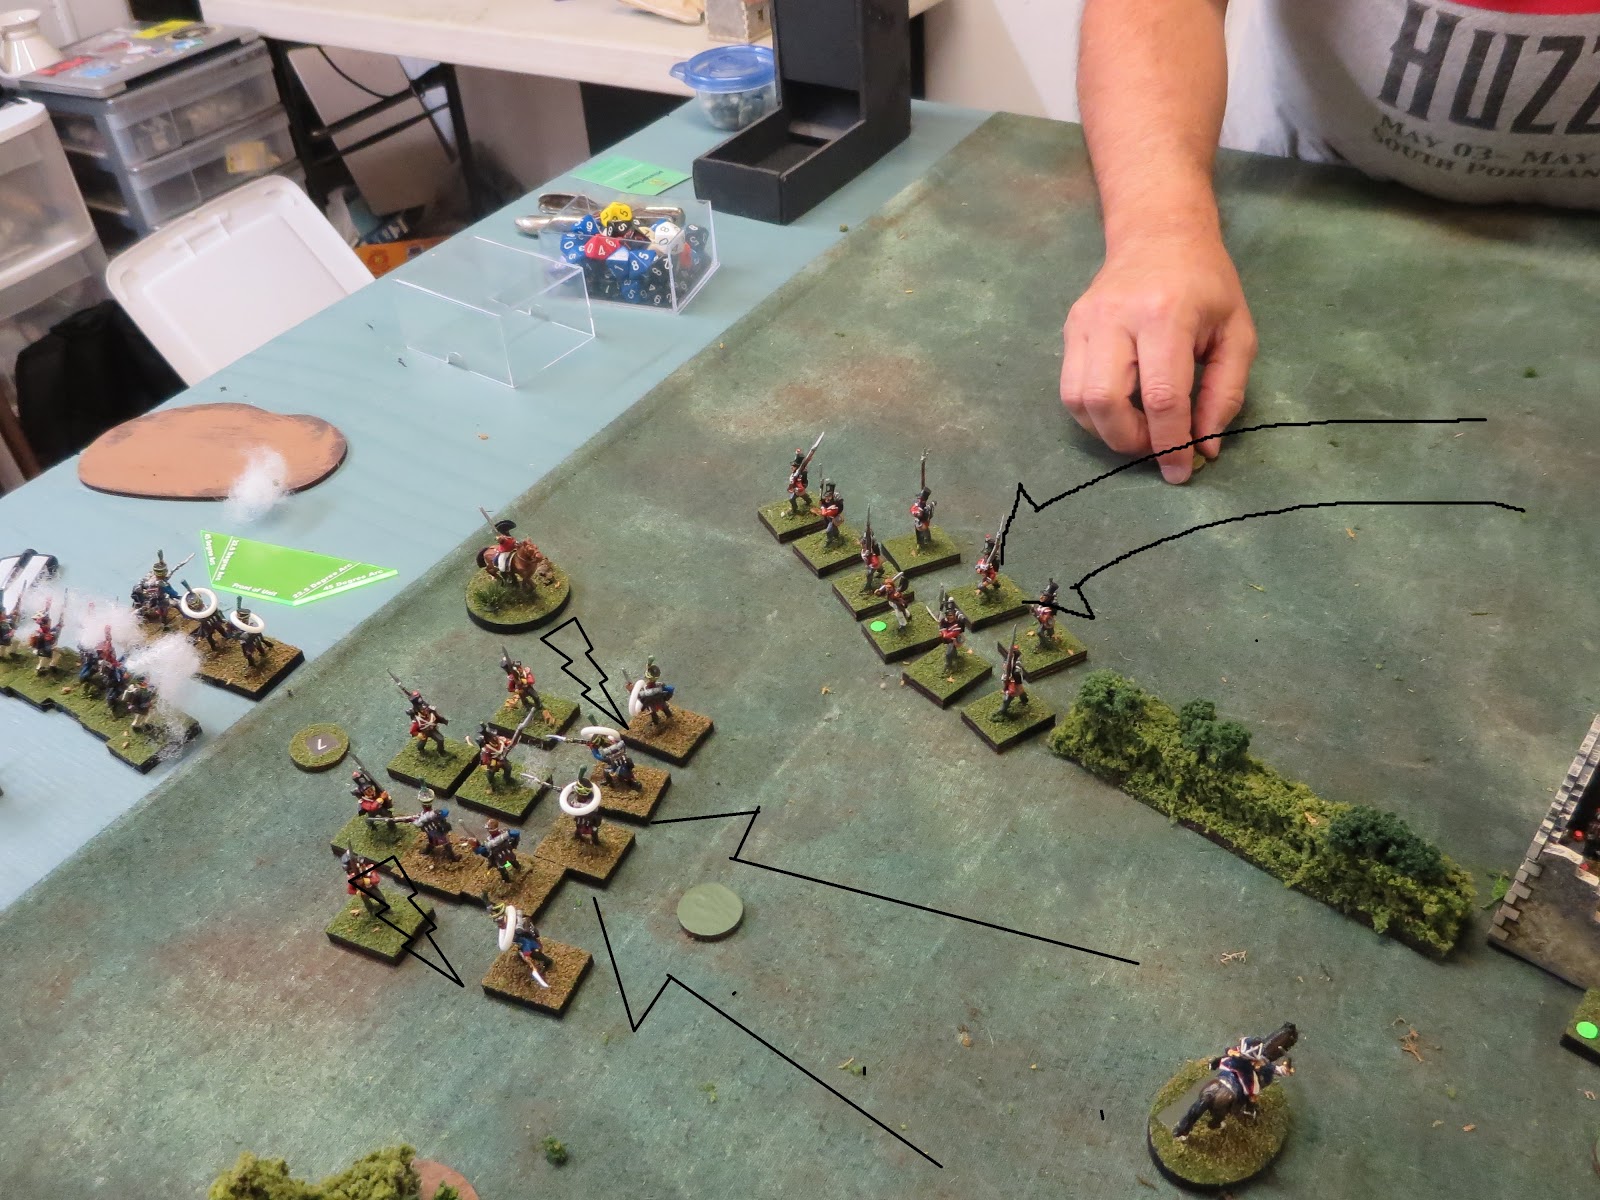
MEANWHILE, ON THE RIGHT...

My dragoons get the first activation and a golden opportunity to...

...send a fusilade into the Spanish guerrillas caught in the open...

...that was the theory, anyway.

Not being one to let an opportunity pass, Mark then sends Guerrilla Band #2 to melee my dragoons (of course, the guerrillas pass their moral check).
AND IN THE CENTER...

The French and British guns indulge in counterbattery fire, the British gunners scoring a hit and coming out unscathed. The French and Polish line infantry fire with about as much effect as the French dragoons. The Poles receive the attention of the Portuguese--and are much reduced as a result.

It was at about this time that I took the entirely rational step of purging dice that had disappointed me.
.
.
OVERVIEW...

BACK ON THE LEFT...

Above Left: my Legere get the first activation and launch a charge into the British lights (note that sometimes we use kill rings to show figures with empty muskets). The British Guards activate next and swing around in position to support the British lights and threaten the Legere. Above Right: I send my French grenadiers into melee with the British Guards to even things up. When the British Lights activate, the subsequent melee round doesn't go well for the French Legere (as witnessed by the figure count), but the Grenadiers come out ahead in the initial melee with the British Guards (sparing a few dice a trip to the gulag...for now)...


Above Left: in the ensuing action, the British Guards manage to back off and deliver a spirited volley into the Grenadiers. Above Right: the British Lights manage to dispatch the French Legere. This triumph is short-lived, however, as the French guns fortuitously now have a clear line of fire, sending the British Lights to join the French Legere in Ragnarok.

A random event "Gendarmes Return Stragglers" then came up (which allows each side to return some figures). Mark shored up his Guards and I shored up the French Grenadiers, which returned this flank to stasis. These were the only viable units in the area and both of us felt the tension to hold the line as opposed to just throwing units around--the effect of the baseline rule infuses the tension of maintaining a viable position.
AND ON THE RIGHT...


...and consequences.
AND IN THE CENTER...

Guerrilla Band #2, now known as the "Men of Iron" continue to defy the odds. Meanwhile, Guerrilla Band #1 has settled-in for the duration.
THE SITUATION AT END...

The "Men of Iron" pull back to secure the woods on the British left. At this point, things had returned to stasis. With both sides stretched to cover the line, any advance would be a risky affair. Thus we called it a draw.

It was just as well. I was running out of dice, anyway.
THANKS!

Thanks to Mark and his lovely wife, Nancy, for hosting me to a Friday/Saturday interlude of gaming at their place.
NOTES ON THE RULES
Here are a few notes about my (Not) Brother Against Brother Variant. One probably would need an understanding of the rules to make sense of the below materials.

I replaced the cards with die rolls for morale checks and random events (roll for random events when a die roll of "1" or "0" comes up on a morale check). I rate each unit for movement, morale, fire, and melee--but these ratings are independent of one another, allowing greater granularity for designing units. This allows you to have Spanish guerrillas, for instance, rated green for morale yet melee as "shock." The combat, movement, and morale effects are modified, as evident in the Reference Sheet. One thing to note is that unlike muskets, rifles have a "rate of fire": they may only fire up to 1/2 (max) per turn, but you don't keep track of loading/empty. Rifles also have extended range, but not an inherent +1. The riflemen, however, could be rated as "skilled" shooters (and usually are), rendering the +1. You can access these files as well as some markers and other resources in this folder. Eventually, I'll gather together some coherent notes and post my BaB Napoleonic variant in a content page on this blog (there's no shortage of hobby activity ahead!).
In the meantime, dear readers, thank you for your indulgence on this rather overlong report.

Excelsior!

Thanks for a great game, and a great batrep! It was an excellent game using a very good set of rules!
ReplyDeleteIt was good to exercise the rules again (it has been awhile). In the wake of the game, I realized that I probably muddled a few of the more involved situations a bit--not a big deal for our game, but instructive on how to better handle them in the future. It was fun AND useful!
DeleteFunny and very nicely done, 'quel beau rapport sacrebleu!'
ReplyDeleteThanks, Phil. I see what you did there :)
DeleteHmm, Carefully swapping out dice just before they start rolling well looks a lot like a clever ruse to draw him into using the rules by not beating him in the first game....
ReplyDeleteIndeed, "I have a clever plan..."
DeleteI enjoyed this post and the word bubbles in the pics. I’m going to a con this weekend and might play a game of Brother Against Brother.
ReplyDeleteBaB may not be as popular as it once was, but it remains a convention standard. Enjoy!
DeleteEd! Good to see you back at the game table. I thoroughly enjoyed your humorous Battle Report. Your bad dice are lucky. I had a friend who was in the bad habit of flinging these non-performers across the room or crushing them with pliers. One time when he did this, I politely reminded him that those were MY dice!
ReplyDeleteHi Jonathan, reminds me of something I saw in my early days in the hobby: a fellow actually took a dice and bit it (at least they were his dice: none of us were going to touch them after that!).
DeleteGreat battle report, colorful with your captions. Mark's guerillas look awesome!
ReplyDeleteHi AJ--looking forward to seeing Mark's colorful Spaniards next. The captions, as you know, are reflective of the important insights we share during these games :)
DeleteA splendid sounding game Ed...
ReplyDeleteI am glad I am not the only one who ‘bins’ bad dice...
Most people won’t use them after I have touched them... I have used this as a gaming strategy in the past...;-)
All the best. Aly
One reason I like running games as much (or more) than playing them--I am beyond the machinations of General Dice.
DeleteOutstanding!
ReplyDeleteThanks, Mark!
DeleteLovely looking game and sounds like a ball! Understandable response to die failure,so lining them up against a wall or decimation?
ReplyDeleteBest Iain
Given that they were D10s, I should think decimation :)
Delete