Wednesday, December 21, 2016

THE GRIDDED GAME MAT: HOW TO


Among my various and sundry home-brew gaming abominations is my Baroque Battles system (pictured above) . This is a hybrid miniatures game that uses uses 6mm figures on a regulated (ie gridded) playing area. When I host games, someone invariably inquires about the game mat, which is the subject of this piece, dear reader. All shall be revealed. If you go to the Baroque Battles page of this blog (see the tabs across the top), you will find a pdf with these instructions that you can download. As usual, clix pix for BIG PIX.


 THE MATERIALS: The mat (at left) is a standard width (36”) piece of felt, obtainable from any fabric store. I had this cut to 8 feet. I also used some standard US letter-sized paper (card stock, heavier paper is better given the spray painting), a measuring device, spray paints, scissors, and a bunch of small weights, below (could be coins: I used washers mostly). Not pictured are the blow torch and bicycle pump, but since these aren’t needed--nevermind.

THE PROCESS: First, you create the blanks for the grid. This is a highly technical step. You take a sheet of paper (standard 8.5” x 11”) and cut it in half (rendering two bits that are roughly 8.5” x 5.5”--see left hand illustration below). Each bit now equals the size of a grid on the mat. Then you repeat a bunch of times until you have lots and lots of them (right below). Note: I re-used materials for this, hence the painted bits you’ll see in these examples. 
 
Next, you lay down a long row of blanks in order to spot the maximum size of your playing area (or you could do the math and measure it all up). At this stage, getting the length is what you’re after. It doesn’t have to be precise: err on the side of longer. There is a handy seam down the center of the felt that you can use to center the blanks. With 8 blanks, the playing area winds up being a neat 72 inches. 
 

Mask off the edges of the playing area  This is where longer is better, so long as your grid fits inside this area. 


Now take up your blanks (right) to  expose your playing area.
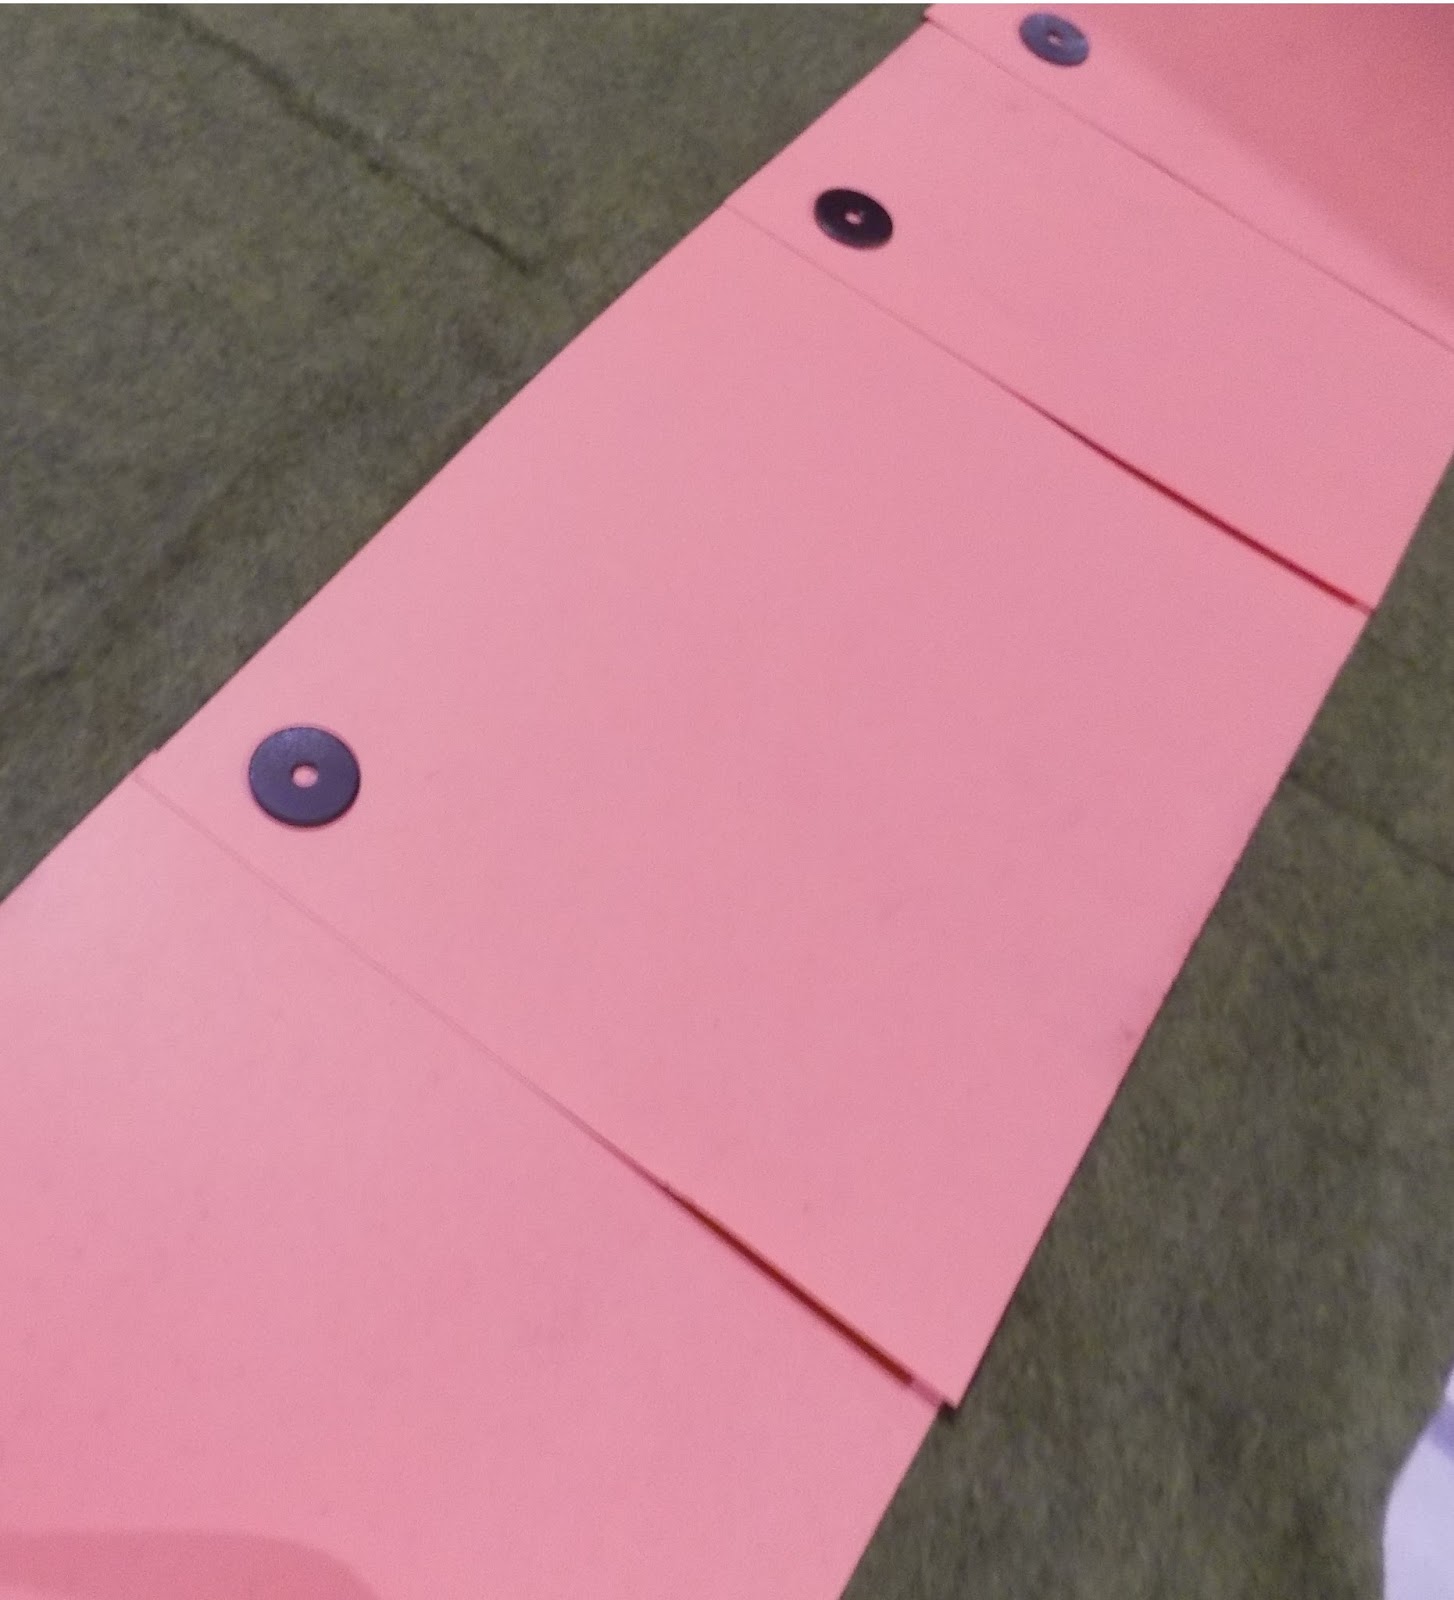


Weigh down your pieces of paper so that they don't blow away when you spray paint (I learned this the hard way!). 


                       Then go ahead and spray your ground effects...


This step will give you a nice clean edge between your playing area and the ends of your mat (the patterned area doesn't stand out very well in the photo, so I've highlighted the boundary with a dashed red line). If you enlarge the opening image at the top of this post you'll 
get a good view of the effect.


Now you’re ready for the big step: laying out the grid pattern. Place your blanks starting with the center row and then moving towards the edges. You can see in the picture below how the grid pattern ends just inside the edge zones. The “brick” pattern replicates a hex grid, which is most versatile. You will wind up with seven rows: one in the center and three on each side. The last row on each side is half-sized, which hasn’t been a problem in play. In the picture, the layout is incomplete (I ran out of blanks), but you get the idea.
 
 I found that you can just eyeball the placement of your blanks. It’s not like laying tiles in your house where you must have absolutely regular spacing between the blanks (even the blanks themselves can be a bit irregular). The important thing is that the gaps are contiguous (in other words, the blanks should not overlap or touch; there should be always be a gap between them).


The layout steps above will take care of the interior pattern. For the exterior...


...you’ll need to extend the pattern by one blank in each row beyond the edge of the grid, and then mask off the edge area. This will give you the exterior grid lines (left and right below)...


...then you weigh down all the paper (not pictured) and you're ready to spray paint, focusing on the gaps to create your pattern...

...And voila! Your mat is now complete. The close up below illustrates how the contiguous gaps between the blanks flow together in the grid pattern. You can also see that slightly irregular spacing doesn’t really cause an issue (as a matter of fact, it lends a sort of naturalistic look to the pattern). You can also see the half spaces on the edges.
 The mat is ideal for use with two standard banquet tables. 


 I place a US Army blanket on the tables...


...and then I put the game mat down over that.


The playing area conforms nicely to the length of the tables....


 ...and there is space left on the edge for elbows, drinks, dice, references, etc...


 Excelsior!


Wednesday, December 14, 2016

AN INTERLUDE...


The Thanksgiving Holiday, among other things, has brought on a slow-down in activity in these parts, so the tempo of posting has become a bit more attenuated as well. Never fear, dear readers, activity will continue. In the meantime, here is a short rumination about my wargaming origins. This bit of nostalgia was prompted by a recent post on TMP asking how people got started in wargaming, as well as my work on our recent Club Newsletter, in which I included a reference to a piece from Pat Condray's Armchair General about a wargame convention in 1968.

Most will no doubt recognize Peter Young's iconic Wargame book, above, published in 1972. This was the spark that did it for me. I'm not one of those people who can look back and recall the exact year and month for such things. I can say that it was pre-1974 (probably not long after the book was published in 1972). In those days, I would go to my local public library several times per week, sometimes to peruse, sometimes to check books out, often both. I had discovered the various "Great Battles of History" books (of which there are many), and I was always poking around looking for more of those to read, whether they were of the "coffee table" variety or the text-only kind. One day, this shiny new tome was shelved in my familiar section, and it was a revelation. In my case, it certainly lived up to one of its modest claims, to "foster an interest not only in the fascinating--and relatively bloodless--hobby of wargaming, but also in the history and the art of war" (Introduction, page 7).

This new awareness of wargaming caused me to visit my hobby store (back then, the brick and mortar hobby stores carried a wide range of products), where I made the second groundbreaking discovery: the 3M Bookshelf game, Feudal (The Game of Siege and Conquest):

This promised everything I had read about in Young: terrain, figures, strategy...this was a WARGAME--the first I had noticed. Being in 7th or 8th grade, it was beyond my means ($8.00), so I could only "visit" the game in the store. The packaging on the back was especially enticing, with its rich medieval setting (I rather doubt that the game was ever set up and played in such a place, but that wasn't where my imagination took me then...).


Eventually, I got the game at Christmas. Despite the actual picture of the game (above), I had imagined something less abstract....


...especially when it came to the game board, which was described as having mountains and rough terrain. Of course, it did, but it was represented by solid green and striped green spaces rather than in three dimensions. The figures were cool, though, and it never  crossed my mind that they ought to be painted.  I quickly got over the board and played it over and over. I was a chess player back then, and I knew I was in new territory because each turn you moved ALL of your pieces. This was a wargame! Nowadays, I suppose one might be generous to call it a hybrid miniatures game, the mechanics being very chess like and abstract.

The ground was broken, though. This led me to the other bookshelf wargames of the day--by Avalon Hill. By now, I was a bit more savvy on expectations and also more tuned in to the idea of "simulation" vs abstract representation. The object of my desire then became...


...which, like Feudal, was well beyond my means. The same pattern applied. Eventually, I was able to acquire this grand old game, the first "real" wargame I owned. The rest is history.


As an interesting aside, in the last few years,  I've re-acquired a copy of Feudal and Luftwaffe, and through used book sites , The Wargame. Some day, I hope to actually spend an afternoon and play one of these games again.

Sunday, December 4, 2016

POLISH LEGION OF THE HUNGARIAN REVOLUTION


Here is the latest in my Chocolate Box Wars project: The Polish Legion of the Hungarian Revolution.  I used Murawski Miniatures Napoleonic Poles (In "Scruffy Campaign Dress") and converted them for the era.  There were significant delays along the way, mainly in the acquisition of correct figures (or to put it more accurately, the figures I wanted).  The Murawski sets come with varied figures, only 1 or 2 of which are in the rolled blanket.  I don't want to say how many sets I ordered to get 6 figures like this.  let's just say that between an ebay score and ordering here in the US through Brigade Games I wound up getting "several" sets--and have plenty of spare Poles in campaign dress for other projects.  As usual, clix pix for BIG PIX.  

Here is what I was aiming for: Polish Legion Infantry in Dark Blue uniform, 1849:
 From The Honved Army 1848-49 Gyozo Smogyi 
The major distinctive features that set the above uniform apart from the earlier Napoleonic version are the longer coat and the "soft" czapka.  There are also several depictions of the Polish Legion that show the top of the czapka being a black square framed in red.  That generally also seems to be with a shorter version of the czapka (almost kepi-like). Given that I was converting Napoleonic Poles with a full-sized czapka, I went with this model, which shows a red top with a thin, white cross.

Once again, I deployed my Xacto knife and green stuff to modify the figures. I shaved off the ornaments and lines on the czapka, and I also shaved down the buttons on the cuffs. I then added green stuff to soften the lines of the czapka to replicate the more irregular soft version and I added green stuff to lengthen the coat:
The Murawski figures have rather spindly legs, so it was challenging to add the extended coat without making it look like a diaper.  From a "gaming distance" I'm happy with the overall effect, even if there are one or two fellows who, upon closer inspection, would seem to be wearing a bustle...


 I hope to shift effort from painting to playtesting in January!

Excelsior!

Related Posts Plugin for WordPress, Blogger...