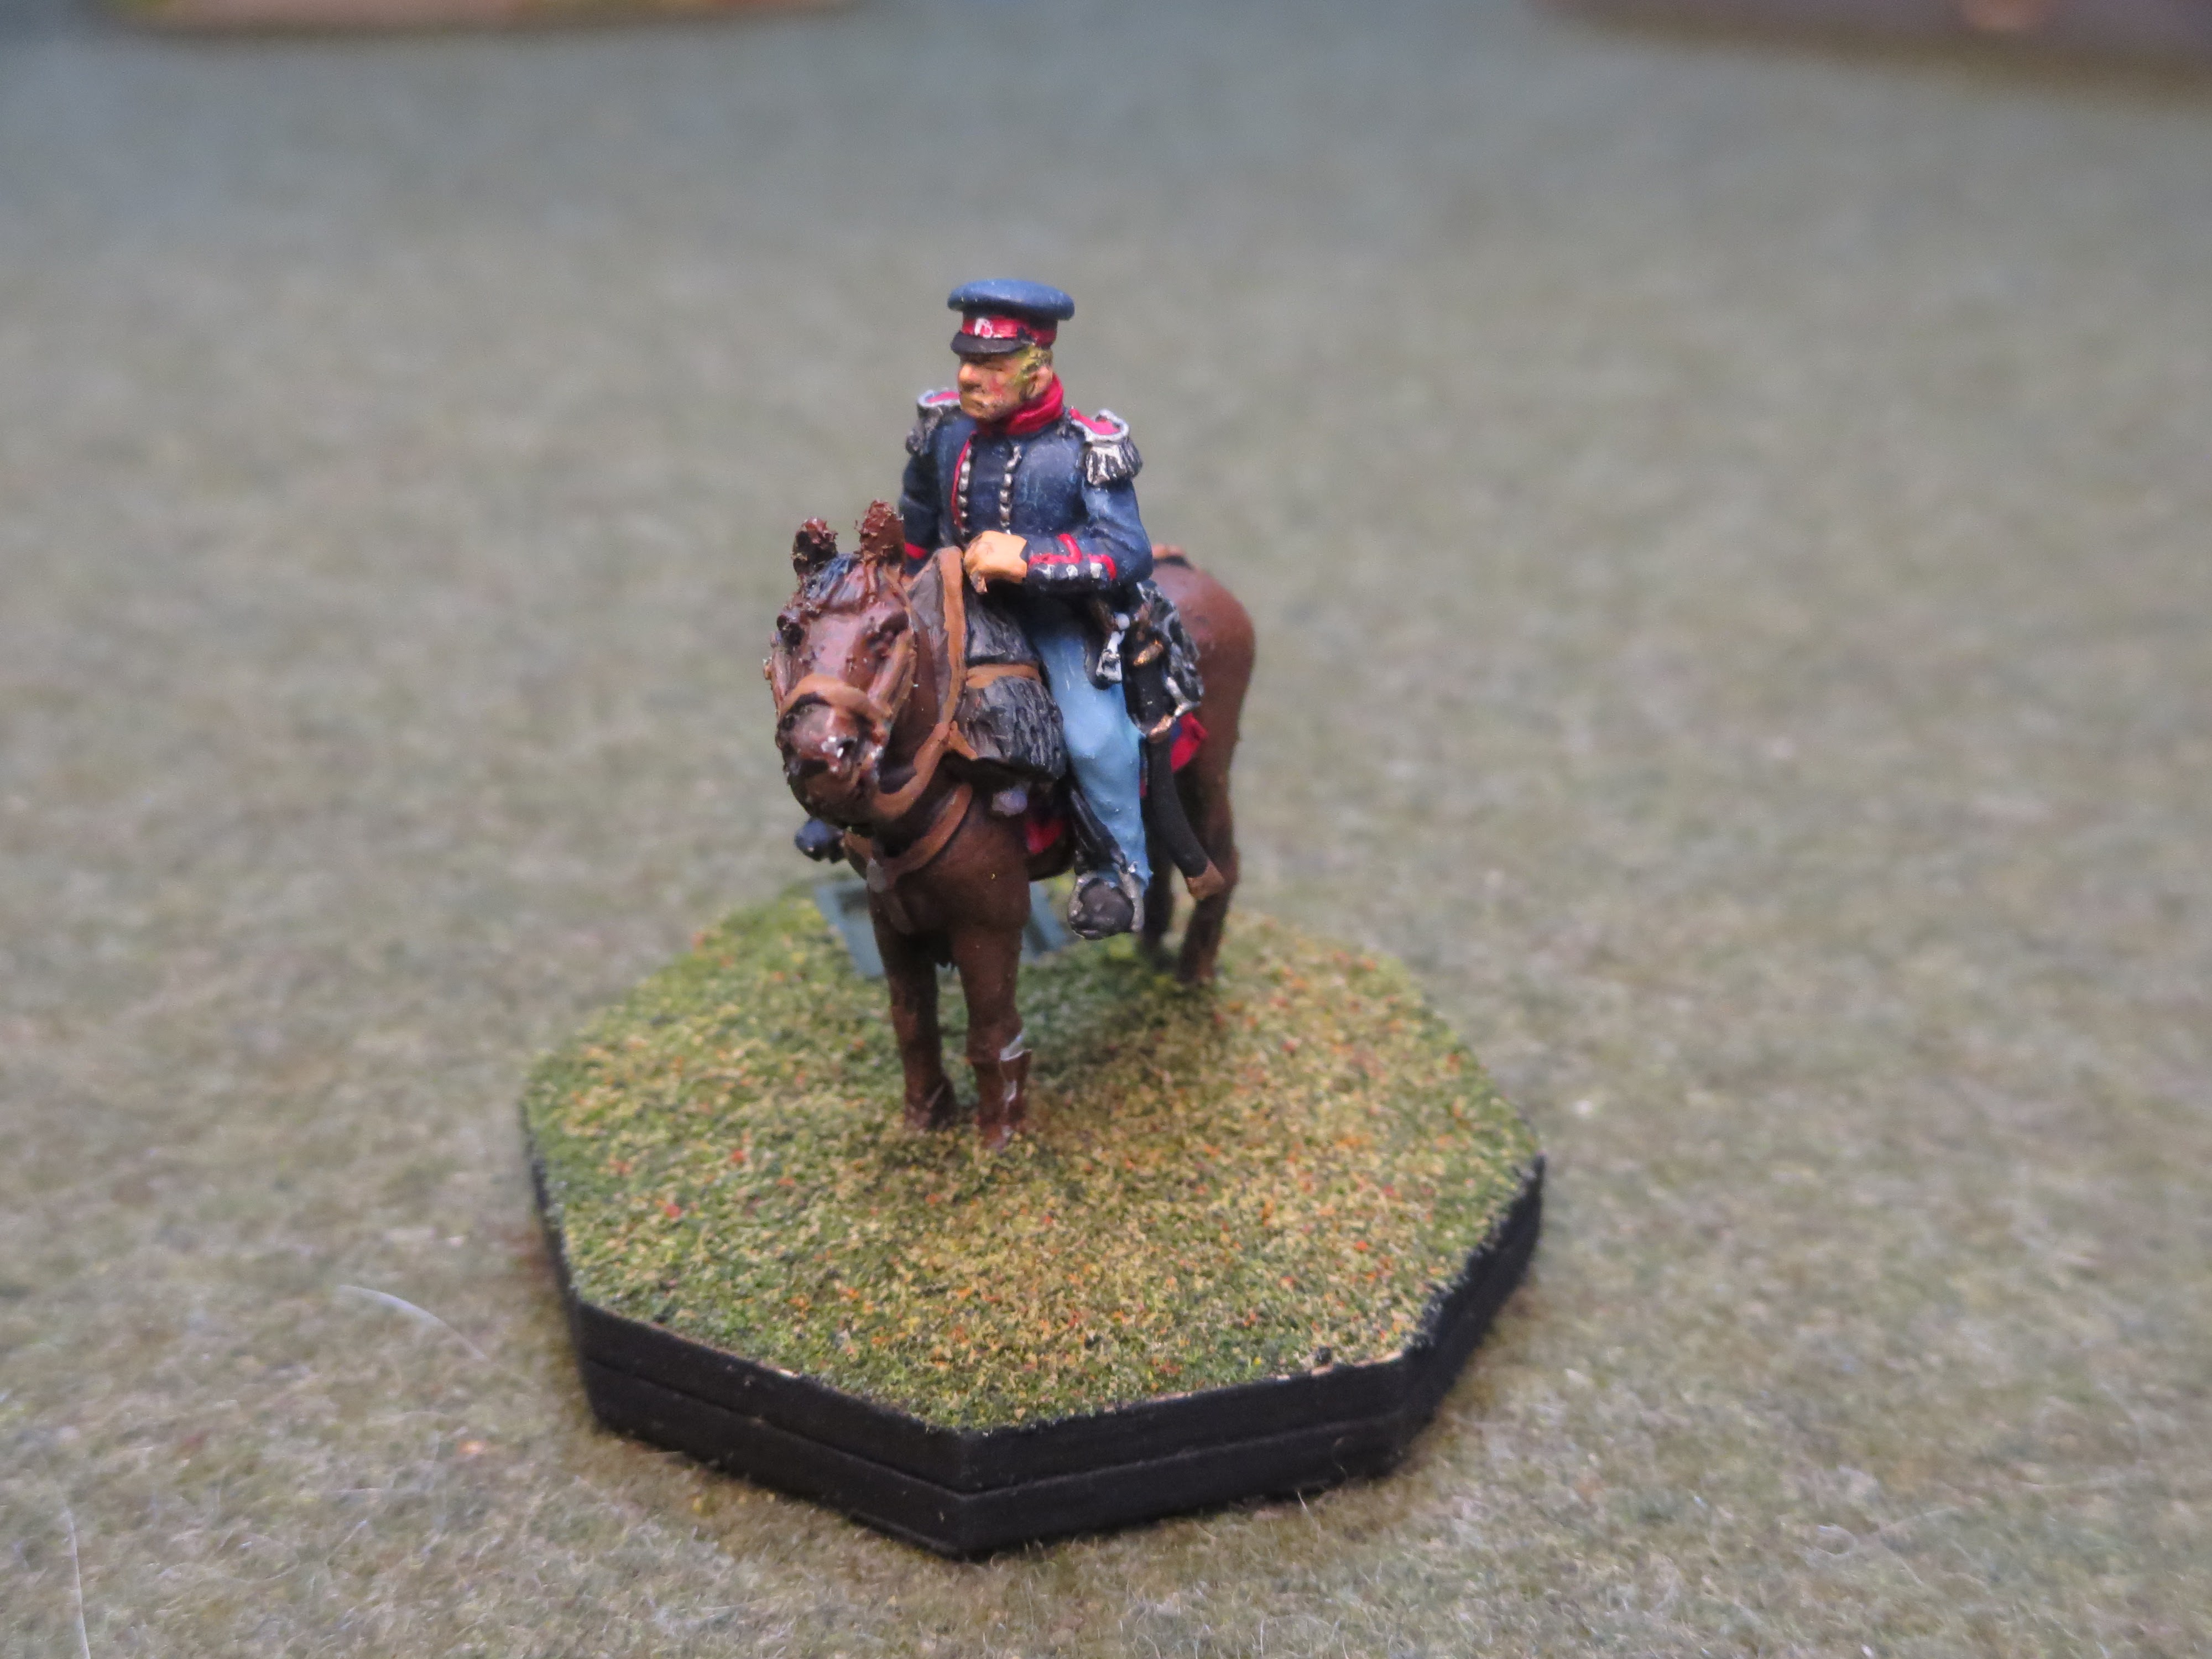
Danish infantry standing like a rock against an advancing stream of Prussian infantry in our recent game.
Greetings, dear readers. Before I move on, I feel obliged to include a small explanation (apology?) for my recent absence from the comments section of the circle of bloggists that I generally visit (you know who you are, I think). Life has been busy lately (in a routine way: nothing drastic), and other things have simply taken up the time and energy available. I hope to get back on track in the next few weeks and return to form. Now, on to the topic du jour: toy soldiers!
I wanted run a game using my Post Napoleonic battalion-level VNB Variant, incorporating lessons learned from the Austro Prussian Frontier Battle game. Originally, I had intended to reprise that scenario with the same players and compare results. In the end, however, the players were not available, which caused me to start tinkering with the scenario. This, in turn, caused me to dump the Austro-Prussians and pull my Danes out of their boxes for a First Schleswig-Holstein War game--this being a much superior conflict to game than the second S-H War, in my humble opinion (see the opening paragraphs of my Battle of Dybbol post for more on this). I based this game on the Battle of Schleswig, 23 April 1848. Briefly stated, in this battle, the Prussians were advancing north into Denmark and the Danes were holding a line near the aforementioned town (north of the Danewerks). When the Prussians approached, the Danes reacted, and something of a meeting engagement ensued. The Danes fought the Prussians to a standstill, even counterattacking at one point. Eventually, with the arrival of the German Confederation Division at the end of the day, the Danes withdrew in good order. In this post, as usual, you may clix pix for BIG PIX. The situation: the Prussians come from the left of the picture (South) and the Danes from the right (North). The discs on the table (circled) are objectives: Black for Prussian and Blue for Danish. To control an objective, a side must have a unit within 6" of it with no opposing units within 6" of it. The Prussians win by controlling any two black objectives at the conclusion of a Danish turn, and the Danes win by controlling any one blue objective at the conclusion of a Prussian turn. Any other result would be inconclusive. The scenario can be reviewed and downloaded in pdf. 
Nearly all forces start on the table. The Prussian reinforcements roll to arrive, automatically appearing after turn 4. The Danish reserve comes onto the table at turn 2. The view from the Prussian side at start...
The view from the Danish side.
The dynamic in this game is that both sides need to both cover enemy objectives in their own zones and also seek a breakthrough to seize objective(s) in the enemy zone (1 in the case of the Danes and 2 for the Prussians). The game is afoot: on to the battle!
The Prussian and Danish Commanders and their chiefs of staff survey the situation. In this game, there are no subordinate commanders. Both leaders are army level and can influence all units. The Danes have 3 command points (2 for the Army commander and 1 for the Chief of Staff) and the Prussians 4 (2 and 2). Command points are explained in the scenario notes. In this game, I took the part of the Prussians and George took up the Danish cause (George had played in the Frontier Battle Game on the Prussian side).
The Danish Advance Guard in their starting positions...
...opposed by the Prussian Vanguard on this wing.
In the center, the Danish 2nd Brigade lined up in its starting position...
...opposite the Prussian 1st and 2nd Line Brigades in the Prussian center.
On the right end of the line, the Danish 1st Brigade prepares for action...
...potentially to face the Prussian Reinforcements, which will arrive on the Prussian left (variable arrival).
The battle begins: on the east flank, the Danish Chasseur battalion shakes out into 2 half battalions and advances with the rest of the Advance guard towards the buildings (in this game the buildings were null terrain: they block movement, line of sight and fire--and cannot be occupied. In effect, you fight between them and not in them, creating a "street fight" sort of game in the lanes)...


Meanwhile, in the center, George concentrates the battery and half battery of the 1st and 2nd Danish brigades, creating a mini grand battery...
...and the Prussians push forward, with the 1st Line making for the hill and the 2nd obliged to swing left to meet the Danish 1st Brigade, which George had marched around on a flank march. To hold off this Danish flanking action, the Prussian 2nd Line would to be forced to take up a position in the line of fire of those Danish guns, taking punishment from both the Danish 1st Brigade and the artillery. It would become something of a race against time as the Prussian 2nd Line stood and got steadily worn down by the fire of the guns and the Danish 1st Brigade, both sides watching for the Prussian reinforcements. Would they arrive before the Prussian line cracked? Remember, the Danes only need to control one blue objective to win, and you can see in the above picture how close the Danes were to those on this flank...

...at the same time, George pushed the Danish 2nd Brigade over the hill, colliding with the Prussian 1st Line. It was clear (even to me) at this point that the Danes were making an all out effort to seize the advantage before the Prussian reinforcements could influence the battle. Fortunately, I had just managed to deploy the Prussians into line, and so was able to fend off the assault (with the help of General Dice: it wasn't a sure thing). The Prussian First Line here would eventually go on the attack and send the Danish 2nd Brigade packing (except for the Dragoons). For a brief moment, it looked like the Prussians could follow up onto the vacant hill where the Danish 2nd Brigade had been and threaten the objective there...

...but the Danish Reserves came up just at that moment to plug the gap!
After its heavy engagement with the Danish 2nd Brigade and the initial exchange with the Danish Reserve battalion, the Prussian First Line was 1 Strength Point short of wavering, and so I pulled it down out of the line of fire to the base of the hill to reorganize and hold, letting the artillery do some work...
...but the Prussian Reserves had finally arrived...
...under the gaze of the Prussian High Command, the lead battalion of the Prussian Reserve comes up and ties in with the end of the 2nd Line and extending the Prussian battle line...
.
..the arrival of the Prussian Reserve signaled the end of the Danish flanking bid. Realizing this, George repositions the Danish 1st Brigade to face the new threat......pulling a disorganized battalion out of the line to recover and forming the other two battalions into an L shaped line anchored on a building......the newly arrived Prussians cuirassiers and one infantry battalion seize the moment and hurl themselves against the Danish battalion at the end of the line: if they win this fight, they'll roll up the position! However, this is not 1813--it is 1848-and the Danish line is not dismayed by the approach of the horse, and calmly holds its ground repulsing both the infantry and the horse (Actually, I rolled a double failed pre melee morale for both of these units, and they in turn then got thumped in the subsequent melee: it would have been a near run thing, anyway--quite dramatic, nevertheless!).
Even with the successful stand of the Danish 1st Brigade defensive line, the situation had now become grim for the Danes. The 2nd Brigade was gone and the First Brigade had reached its waver point. An ad hoc group of units from the reserve and 2nd Brigade survivors held the center. The Prussian Reinforcing Brigade was relatively fresh and poised to advance and threaten the gun line from the flank with the support of the 2nd Line, which had been engaged but still had enough fight in it to push the wavering Danish 1st Brigade back. We called the game at this point, determining that the Danes would not be able to fend off the Prussians. They would be able to withdraw using their intact Advance Guard to cover the retreat.

It was a rousing good game and a near run fight. And most of all, I was happy to get my Danes out of their boxes and onto the table again. Being the first of my "Chocolate Box Armies" they hold a special place in my Post-Napoleonic establishment. Both George and I liked the feel of this game. In short, a good time!
Excelsior!