Saturday, July 9, 2022

FORLORN HOPES, PETARDS, AND MORTARS, OH MY!


Closeup of newly completed Forlorn Hope/Storming Parties

In this post, dear readers, we continue to report on progress on rounding out collections and finishing up partial and unfinished figures as I move towards closing down (or drastically reducing) my painting operation.  In this case, I had picked up several sets of very interesting painted "storming parties" (Thirty Years War/ECW) on ebay.  I also picked up some dismounted ECW/TYW cavalry.  Although I had no specific rules or conventions in mind, at one swoop these figs would expand my gaming options to include defense and assaults on works and positions.  I should add a historical note that explains why I also scooped up the dismounted cavalry to add to these.  Given their body armor, pistols, swords, and expertise with hand weapons in close quarters fighting, it was not uncommon to have cavalry dismount and lead assaults, a not often known dual role for cavalry in this era. In this report, you may clix pix for BIG PIX (as usual).  
Despite the rest of my 17th Century figs being individually mounted (on round stands), I decided to mount these on two man stands (1.5" squares).  This gave me enough figures for four units of six (in Pikeman's Lament, these would be "Forlorn Hopes").  A review of my own rules and the others that are in use in our group informed me that this mounting would work as well as the individual figs, and it would also help set these figs apart as special use (ie, storming parties).  That plus I didn't have enough round stands left to do them that way (and the whole point of this exercise is to use what I have on hand and not pick up more stuff, like new stands).  Anyway, I also figured that by basing them on two man stands, I could reconfigure these for  "base 6" game systems (like Pikeman's Lament), and base 12 and 10 systems (like my own Smalle Warre and others). 

Each unit consists of a stand with a sapper (above, left), a figure throwing a grenadoe (above, right), and a figure with a leader (in two of the units) or a musket/other firearm (above, lower).  The other figure on each stand is a guard with either a hand weapon or a firearm. As an aside, I very much like the armored sapper figure (above, left) and the cavalryman firing the pistol over the forearm (above, right).  I believe these are all Foundry figures. I acquired them painted, but did some touching up and did some additional painting in order to differentiate units. 


Each unit has a color scheme (although not very prominent in the pix, on the table they are easier to spot out). Red (upper left), green (upper right), blue (lower left), and dun/brown (lower right). 
This mounting scheme also will let me mix and match the stands to give me a specific figure mix, like a 3 stand grenade armed unit (upper left) or a 3 stand unit of sappers (upper right). 
Without a specific game system in mind, I didn't go with the norm that I use for color coding the bases of my other Thirty Years War/ECW figures. Instead, I used my more flexible metal strip system for these (see my Ed's Basic Basing post for more).  This also had the benefit of using up some of the metal strips I had left over. 
There were enough figures for me to mount 4 of them individually (digging through my spares box to come up with the fourth: the musketeer).  These I mounted on the 1.5" squares and can use to replace a stand if it loses a figure in order "make change" instead of marking a casualty or using a kill ring (illustrated above right: 5 figure unit). 
Digging through my bits and spares, I turned up this appropriately armored fellow who I mounted on a 1" x 1" square to use as the company commander, if needed. He's originally intended as a flag bearer, but I replaced the standard with a halberd to suit the role (this is an Old Glory Fig, which conveniently come with weapons/hand options). 
The set I picked up from ebay also included this petard team, which I also cleaned up and mounted in this project.   I'm itching to figure out a way to use these fellows in a game!
Finally, I also had these bits of ordnance on hand: two mortars and an organ gun.  I can't recall if the mortars came in the same batch as the storming parties or if I got them separately (again, via ebay).  I definitely picked up the organ gun by itself to use as the Stollenwerfer in my 2021 Christmas Post--a happy bit of nonsense that I've now converted to "serious" use. 
I had already acquired enough stuff to set up a table sized positional defense, with 64 linear inches of works and several redoubts. These figures give me the other side of that scenario, the mortars, sappers, and storming parties.
   
Excelsior!

P.S. Although I don't have moderation on for comments, it seems that blogger has recently started tagging some comments as requiring approval (and others not: based on what, I cannot tell). This is new, and as such, I'm not in the habit of checking for messages requiring approval--so if you do leave a comment and don't see it pop up, have patience. I'll be checking periodically to see if there is a comment requiring my attention.  

Wednesday, June 29, 2022

JUNE GAME NIGHT AND ELECTRONIC BRIGADIER


AJ's Electronic Brigadier "Approach To Monmouth" game that I participated in during the recent June Game Night (AJ, of AJ's Wargaming Blog, is seen seated in the foreground).

In this post, dear readers, I will provide a short update on hobby activities in these parts.  Specifically, this will be a somewhat delayed report on our recent June Game Night.  It will be a bit shy on eye candy, given that I was involved in playing in AJ's game (on which more later, particularly his Electronic Brigadier system!).  As usual, you may clix pix for BIG PIX in this post.  There were three games offered for our club's game night:
Mark D, seated at left (of Mark D's Gaming Site), provided a Battle of Britain Blood Red Skies game.
Mike C (standing at right) put on a Bloody Big Battles game of a sector of the huge Battle of San Martino (1859) on his custom made terrain boards. This is a project that he has been working on for some time. He will be creating other boards to to this to eventually do the entire battle. 
The third game, in which I played, was AJ's "Approach to Monmouth," a re-fight of the American attack on the rear of the British Column at Monmouth during the American War of Independence. The above picture is of the game in progress as seen from what would be the environs of Monmouth: the British started on the road marching towards the camera and the Americans entered from the board edge on the right.  After the interruption of COVID, AJ is getting back up to speed on running his Electronic Brigadier system, and will be taking this well polished scenario to the upcoming Historicon convention (for anyone who may be going there: watch for it!  At present, I intend to also be on hand to assist).  
The game is designed for six players, but a friend of AJ's who had intended to play dropped out at the last minute, so we managed with five. Rob (pictured standing) and I took up the part of the Americans, while there were three British (John M took the Center, and Warren, the British left). Byron, not pictured, took up the head of the column/British right.  The American plan was for me (on the left) to interdict the head of the British column and isolate the center, where we (the Americans) enjoyed a numerical advantage. Rob would take the American center and right and press our advantage there (main effort: the red arrows above).  For my part of the fight (outlined in yellow) I had two units of continentals and two of militia on the Amercian left, and two battalions from the American center (just to the right of the woods).  
...Be careful for what you wish for.  Turns out that the British fell right into our trap, or we into theirs.  Their intent was a mirror version of ours: to win the battle by crushing the isolated Amercian left flank (c'est moi!). And so, above, we see the opening of the game with Byron smartly doing a left flank with the head of the British column and marching straight at the American left.  
...taking a page from history (Guilford Courthouse), I advanced my two militia battalions (and my gun section) and held my two continental battalions behind. Byron wasted no time in closing with these and coming full steam ahead...
...Bryon (blue shirt) contemplating his options of the British Right mid-game. The militia and gun section were sent off, and then things settled down to a standing firefight between my two battalions of continentals and the three battalions of British, with one British battalion swinging around on the American left being held off (somehow) by one of the rallied militia battalions.  Fortunately, taking out the militia and overrunning the American guns in the first line had taken some of the paste out of two of the British Battalions, so the fresh American Continentals waiting for them were able to hold up under the extended pounding and hold the line, which was all that I could hope to do given the circumstances.  I have to add that it is a tribute to AJ's system that you can replicate these kinds of tactics on the table. AJ's system is not just about the tech, but his the algorithms and other calculations render a really good feel to the action. 
Meanwhile, the two battalions of Continentals that I controlled in the center/left did their part by swinging out and engaging the British Guards, taking their lumps but in the end keeping the British Guards from influencing the battle in the center.  Having fulfilled my role as punching bag, it would be up to Rob and the American Center and Right to carry the day, which he did (kudos to Rob: unfortunately, I was distracted and didn't get any pictures to do justice to his play). In the end, it was a near run thing, but the advantage was to the Americans: a minor victory. 
Honors of the day must go to the Huntington Militia, who (somehow) rallied after being bowled back in the initial onslaught and came up just in time to hold the American left against Byron's flanking battalion: cinematic stuff. Without this happening, there is no way that the two Continentals would have been able to hold the line, and by extension, the narrow margin of victory would have swung to the British.  Regardless, it was well played all around and another enjoyable outing with the fellows in the club. AJ also has a report on the game on his excellent AJ's Wargaming Blog. 
Electronic Brigadier tablet in use. 

AJ has been running and perfecting his computer facilitated Electronic Brigadier system for the last few years.  He has (in my opinion) taken the "next step" and uses tablets.  In a nutshell, you hold the tablet when your opponent on the other side of the table is moving and enter the moves and orders as he does them (there is a button for each unit and a set of options available for each once you choose it, also simple buttons or pulldowns).  When the side is done moving, the system runs and does the combat resolutions and morale checks, etc.  Then the tablet goes to the other side of the table and you repeat. This keeps everyone engaged and elegantly takes care of data entry: when it's your turn, you just move your figures as normal, and your partner takes care of data entry). It works really well.  I would encourage anyone who is curious to check out AJ's Electronic Brigadier YouTube Channel for more. 

Excelsior!

Saturday, June 18, 2022

POST NAPOLEONIC COMMAND STANDS


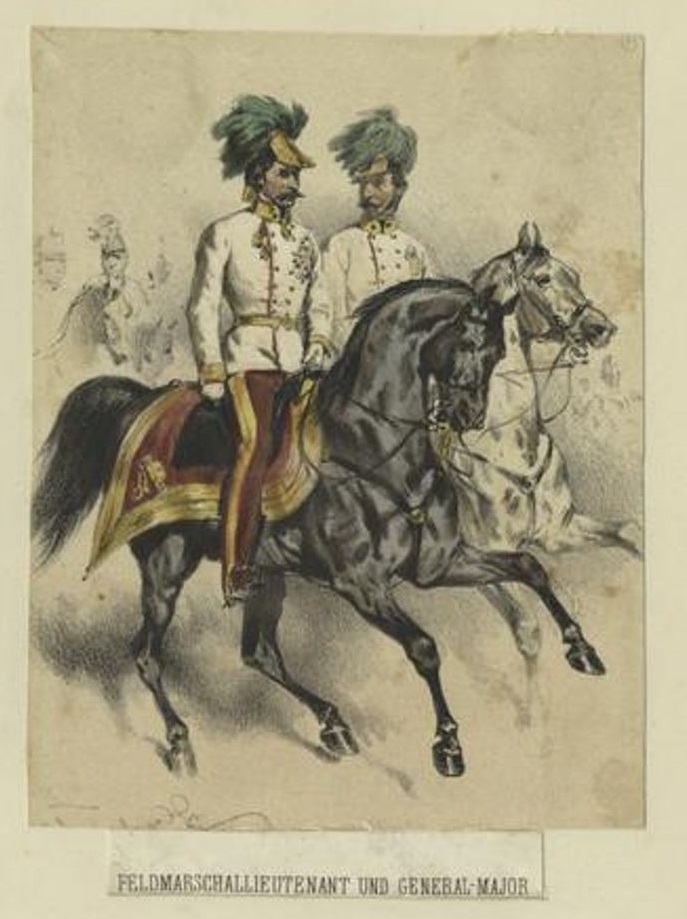
Danish Commanders: from the indispensable NYPL Vinkhuijzen Collecton.

In this post we report on the completion of another "round out the collection"  project, one more modest than the previous two consisting of Prussian and Austrian 1866 infantry.  This one addresses the major remaining loose end of my post-napoleonic forces: commanders/command stands. Specifically for my Danes, Prussians, and Austrians.  Although each force contains sufficient command stands to fulfill the modest framework of my yet to be completed Chocolate Box Wars system, I have been successfully playing these armies using my Post Napoleonic VnB variant , for which the command stands are sufficient, albeit with a few compromises (depending on the situation).  Having a campaign or large game idea kicking around in my head for these forces, I wanted to do a proper job of rounding out the command figures in case more were needed.  And so, dear reader, this post I report on the rationale and completion of these figs.  As usual, you may clix pix for BIG PIX in this post.  First up, the Danes...
...Above, Danish Commanders featuring the very characteristic look of many post-Napoloeonic generals (again, from the NYPL Vinkhuijzen Collecton). My Danes are a hybrid of repurposed figures, and that includes the command: although Northstar does make Danes, they still make no mounted commanders for them.  As is my norm, I tackled this problem by repurposing other figures....
...when doing my Danish command, I turned to the Perry Carlist War line, at first, the Isabelino Foreign commanders (left), and now also the British Auxillary Legion Command (right). The major sticking point for the former is the headgear...
...they lack the characteristic feather plume, a marker of not only the Danes but of many of the continental mid-century commanders. So I modified the figs by shaving down some of the ornament and adding the feather plume using green stuff.
Above, the previously completed Danish Army command stand included as an illustration: the modified Bernelle figure (plume added) serves as the Army commander along with the Evans figure (to the right) in the role of ADC...
...in that earlier project, I modified the generic Isabelino command figure (boxed in the foreign command figure picture) by adding the plume and painting him up appropriately...
...for this project, I added a second conversion of this figure: always tricky to get two modified figures to look consistent.  You'll see this figure again, by the way, later in this post.  If you're looking for a basic command figure to repurpose, you can't go wrong with this fella, as far as I'm concerned (I keep a few on hand!). 
So, although this gave me two Danish subordinate commanders, I needed three (figuring that in a six player game there would be three per side, each needing a command figure).  As I was digging through my Isabelino figs, I ran across this previously overlooked figure among the British Auxillary Legion commanders (he is boxed in the picture at the top). For some reason, he struck me as a likely lad: so I did him up as my third Danish officer. Given that the other two are twins, he adds some variety to my set. In smaller games, I can use two different sub commanders and save using the twins for larger games where I would need  the third.   
The Danish Command, now a proper group providing me more options. 

When I was putting together my 1866 Austrians, Northstar had not yet produced any command figures.  Thus, I used some out of production command figs that I found along with some other substitutions. Northstar has since come out with more Austrian command figures, and so I decided to round out my Austrian command as well. 
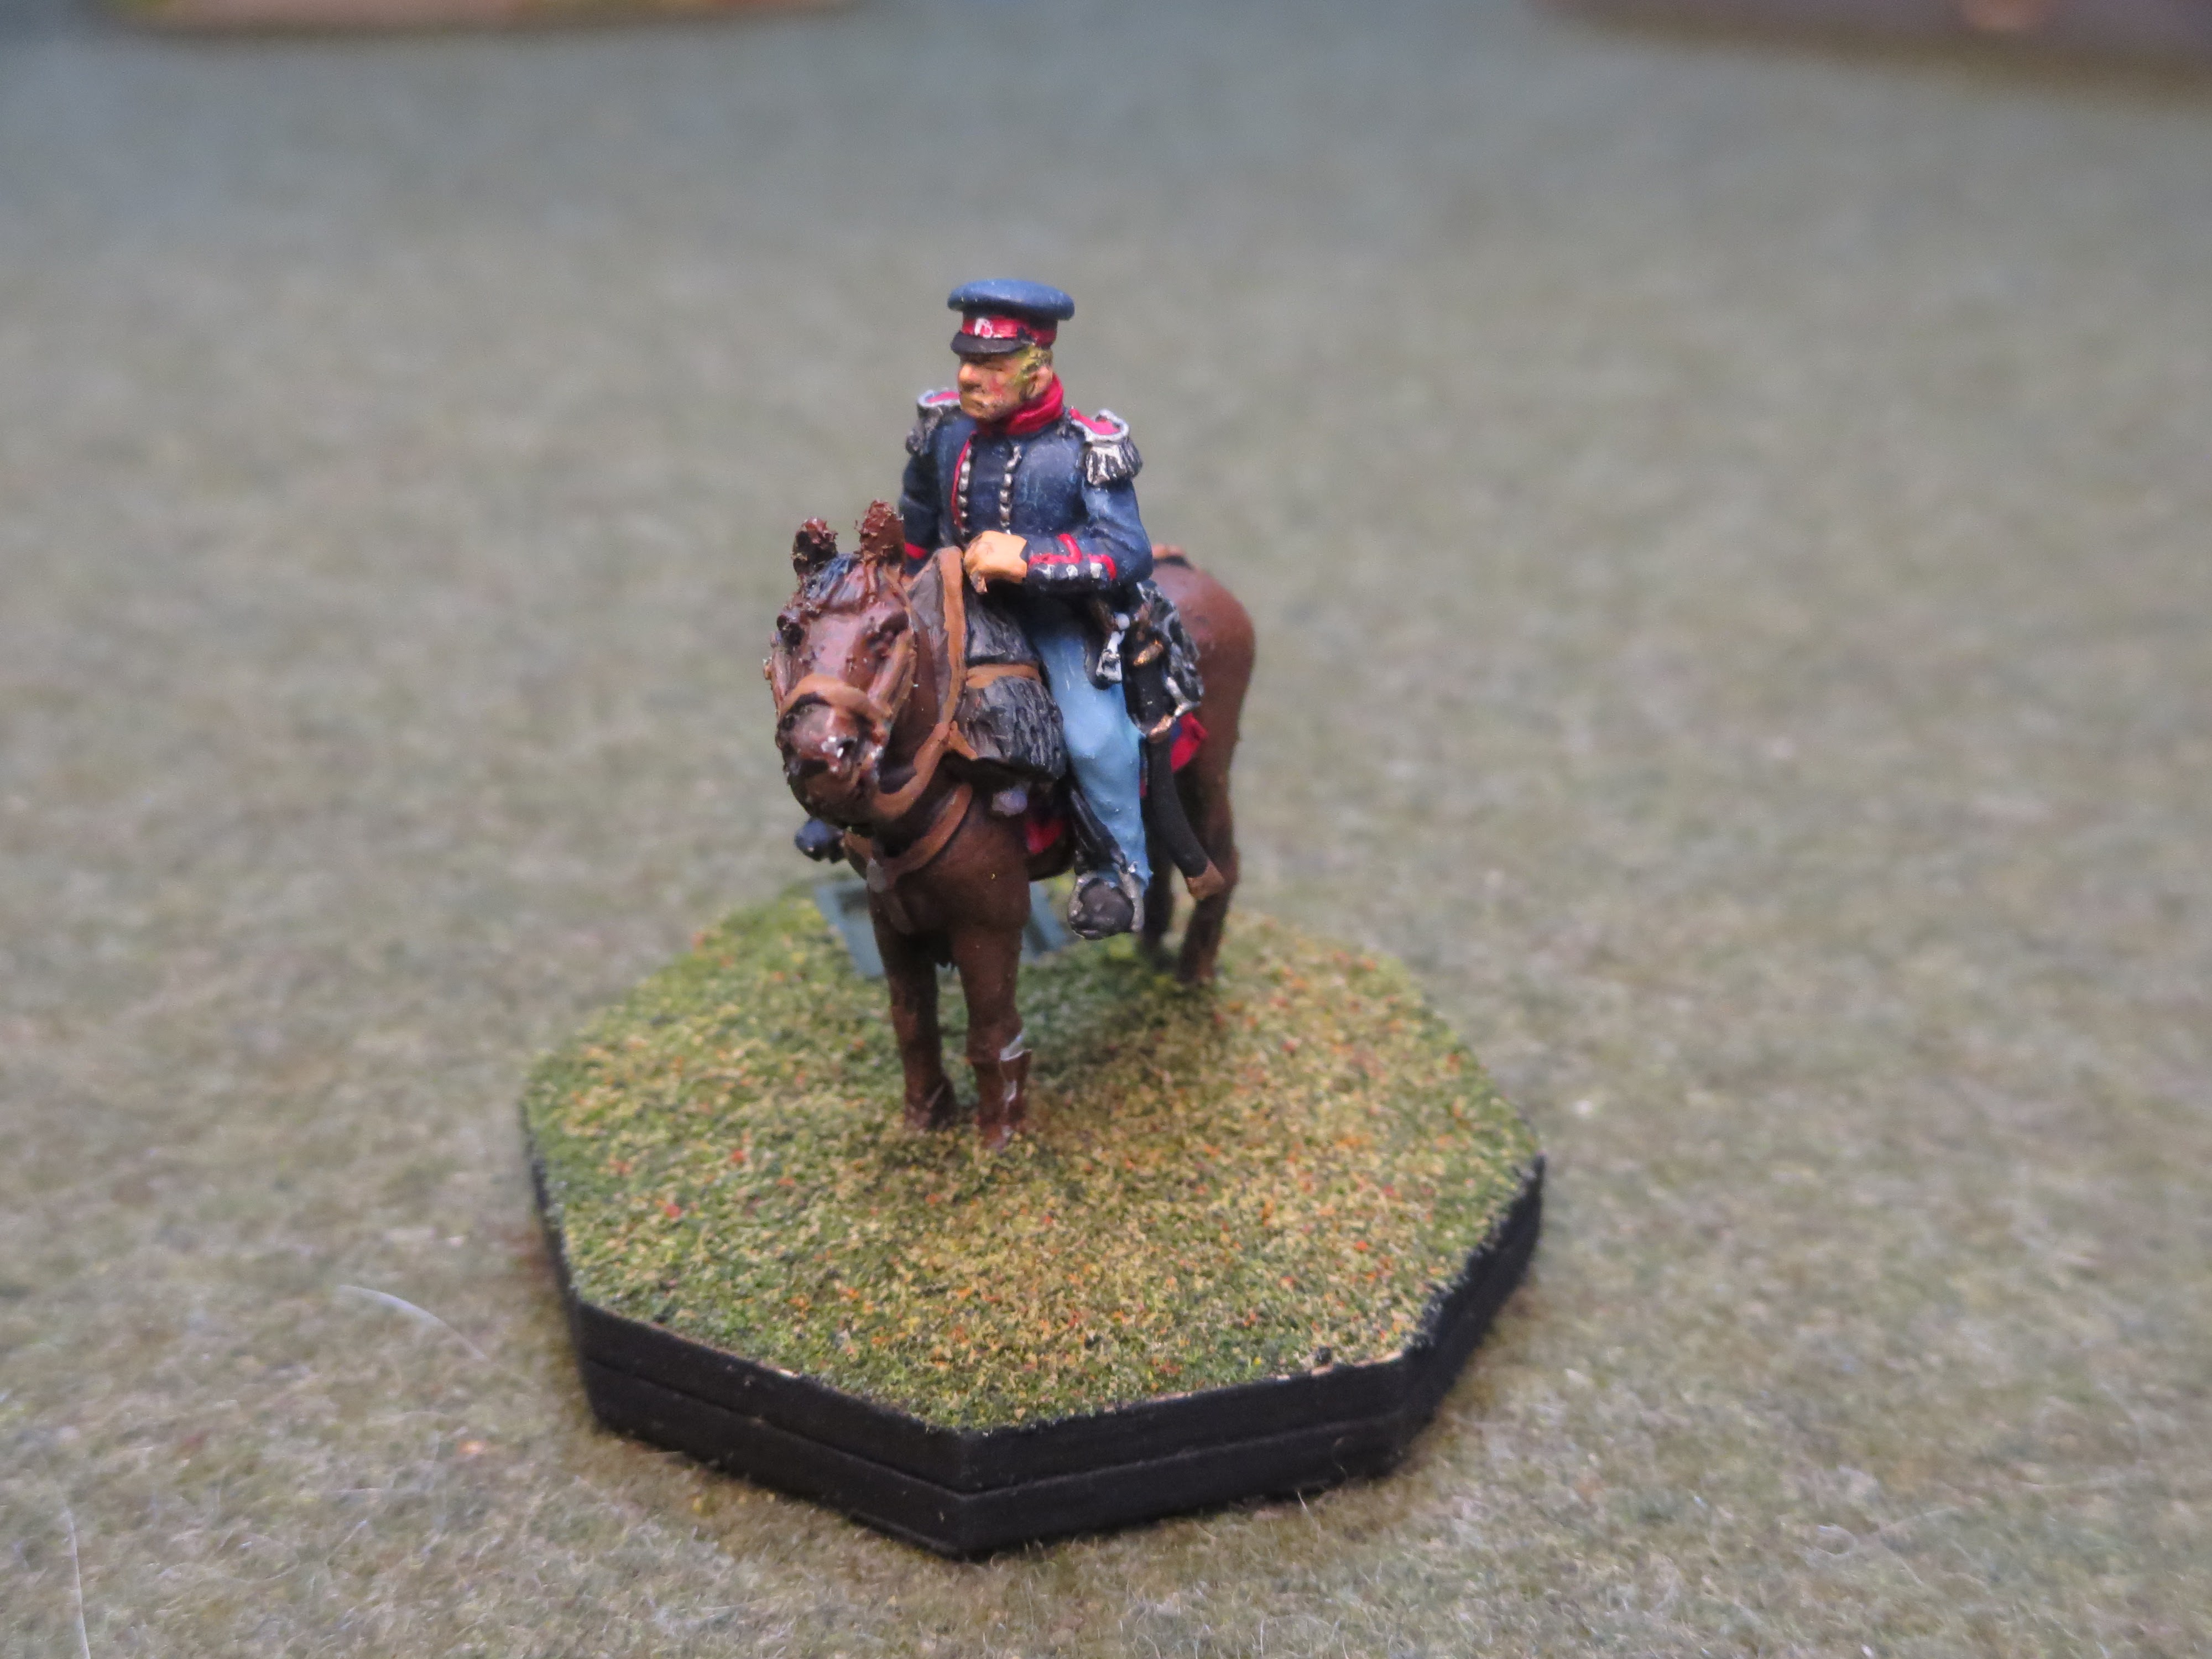
It all begane when I picked up this spectacular Austrian high command figure (left), which I added to my Army command stand...
...in place of the previous Austrian Army Commander, which was this figure, which you may recognize.  In this case, I had shaved down the epaulettes and other ornaments on his coat to give the clean lines of the Austrian uniform and added the large green/black plume using green stuff. For those with too much time on their hands, there is a more complete account of the production of the original Austrian command set in this post from July 2017. Having pulled him from the Army command, I plopped him on an individual base and he now provides me with an additional sub commander figure. 
This elegant fellow came in the Austrian High Command set, and so I did him as well. One thing I'll add is that--by happy accident--I found that Front Rank horses compliment these figures particularly well, and so I use them instead of those that come with them. 
The complete Austrian command, filled out to suit just about any combination I might require. 
Last but not least, I added this Guards Officer to my Prussian Command set.  Like my Austrians, I had put together my Prussians when command figures were not available. Thus, I supplemented what was available by putting cavalry trumpeters on command stands.  
...The complete Prussian command set, now structured to be able to handle the deployment of the complete Prussian force without pressing cavalry trumpeters  into the role of infantry commander (instead, they can be used for cavalry commands). 

Excelsior!

Related Posts Plugin for WordPress, Blogger...